
Sync Partners from Salesforce
If your partner companies already exist in Salesforce, you don’t have to re-enter them into Suger — pick which Salesforce accounts count as partners and they’ll appear automatically in Partner Discovery, and optionally sync their documents into your file library.
Overview
Once Salesforce is connected, you can tell Suger which of your Salesforce accounts are partners. Suger uses a filter you define to match those accounts and surface them under Partners → Partner Discovery → From Your CRM. You can also turn on Document Sync to pull files from your partner records into your Suger file library.
Set Up Your Partner Mapping
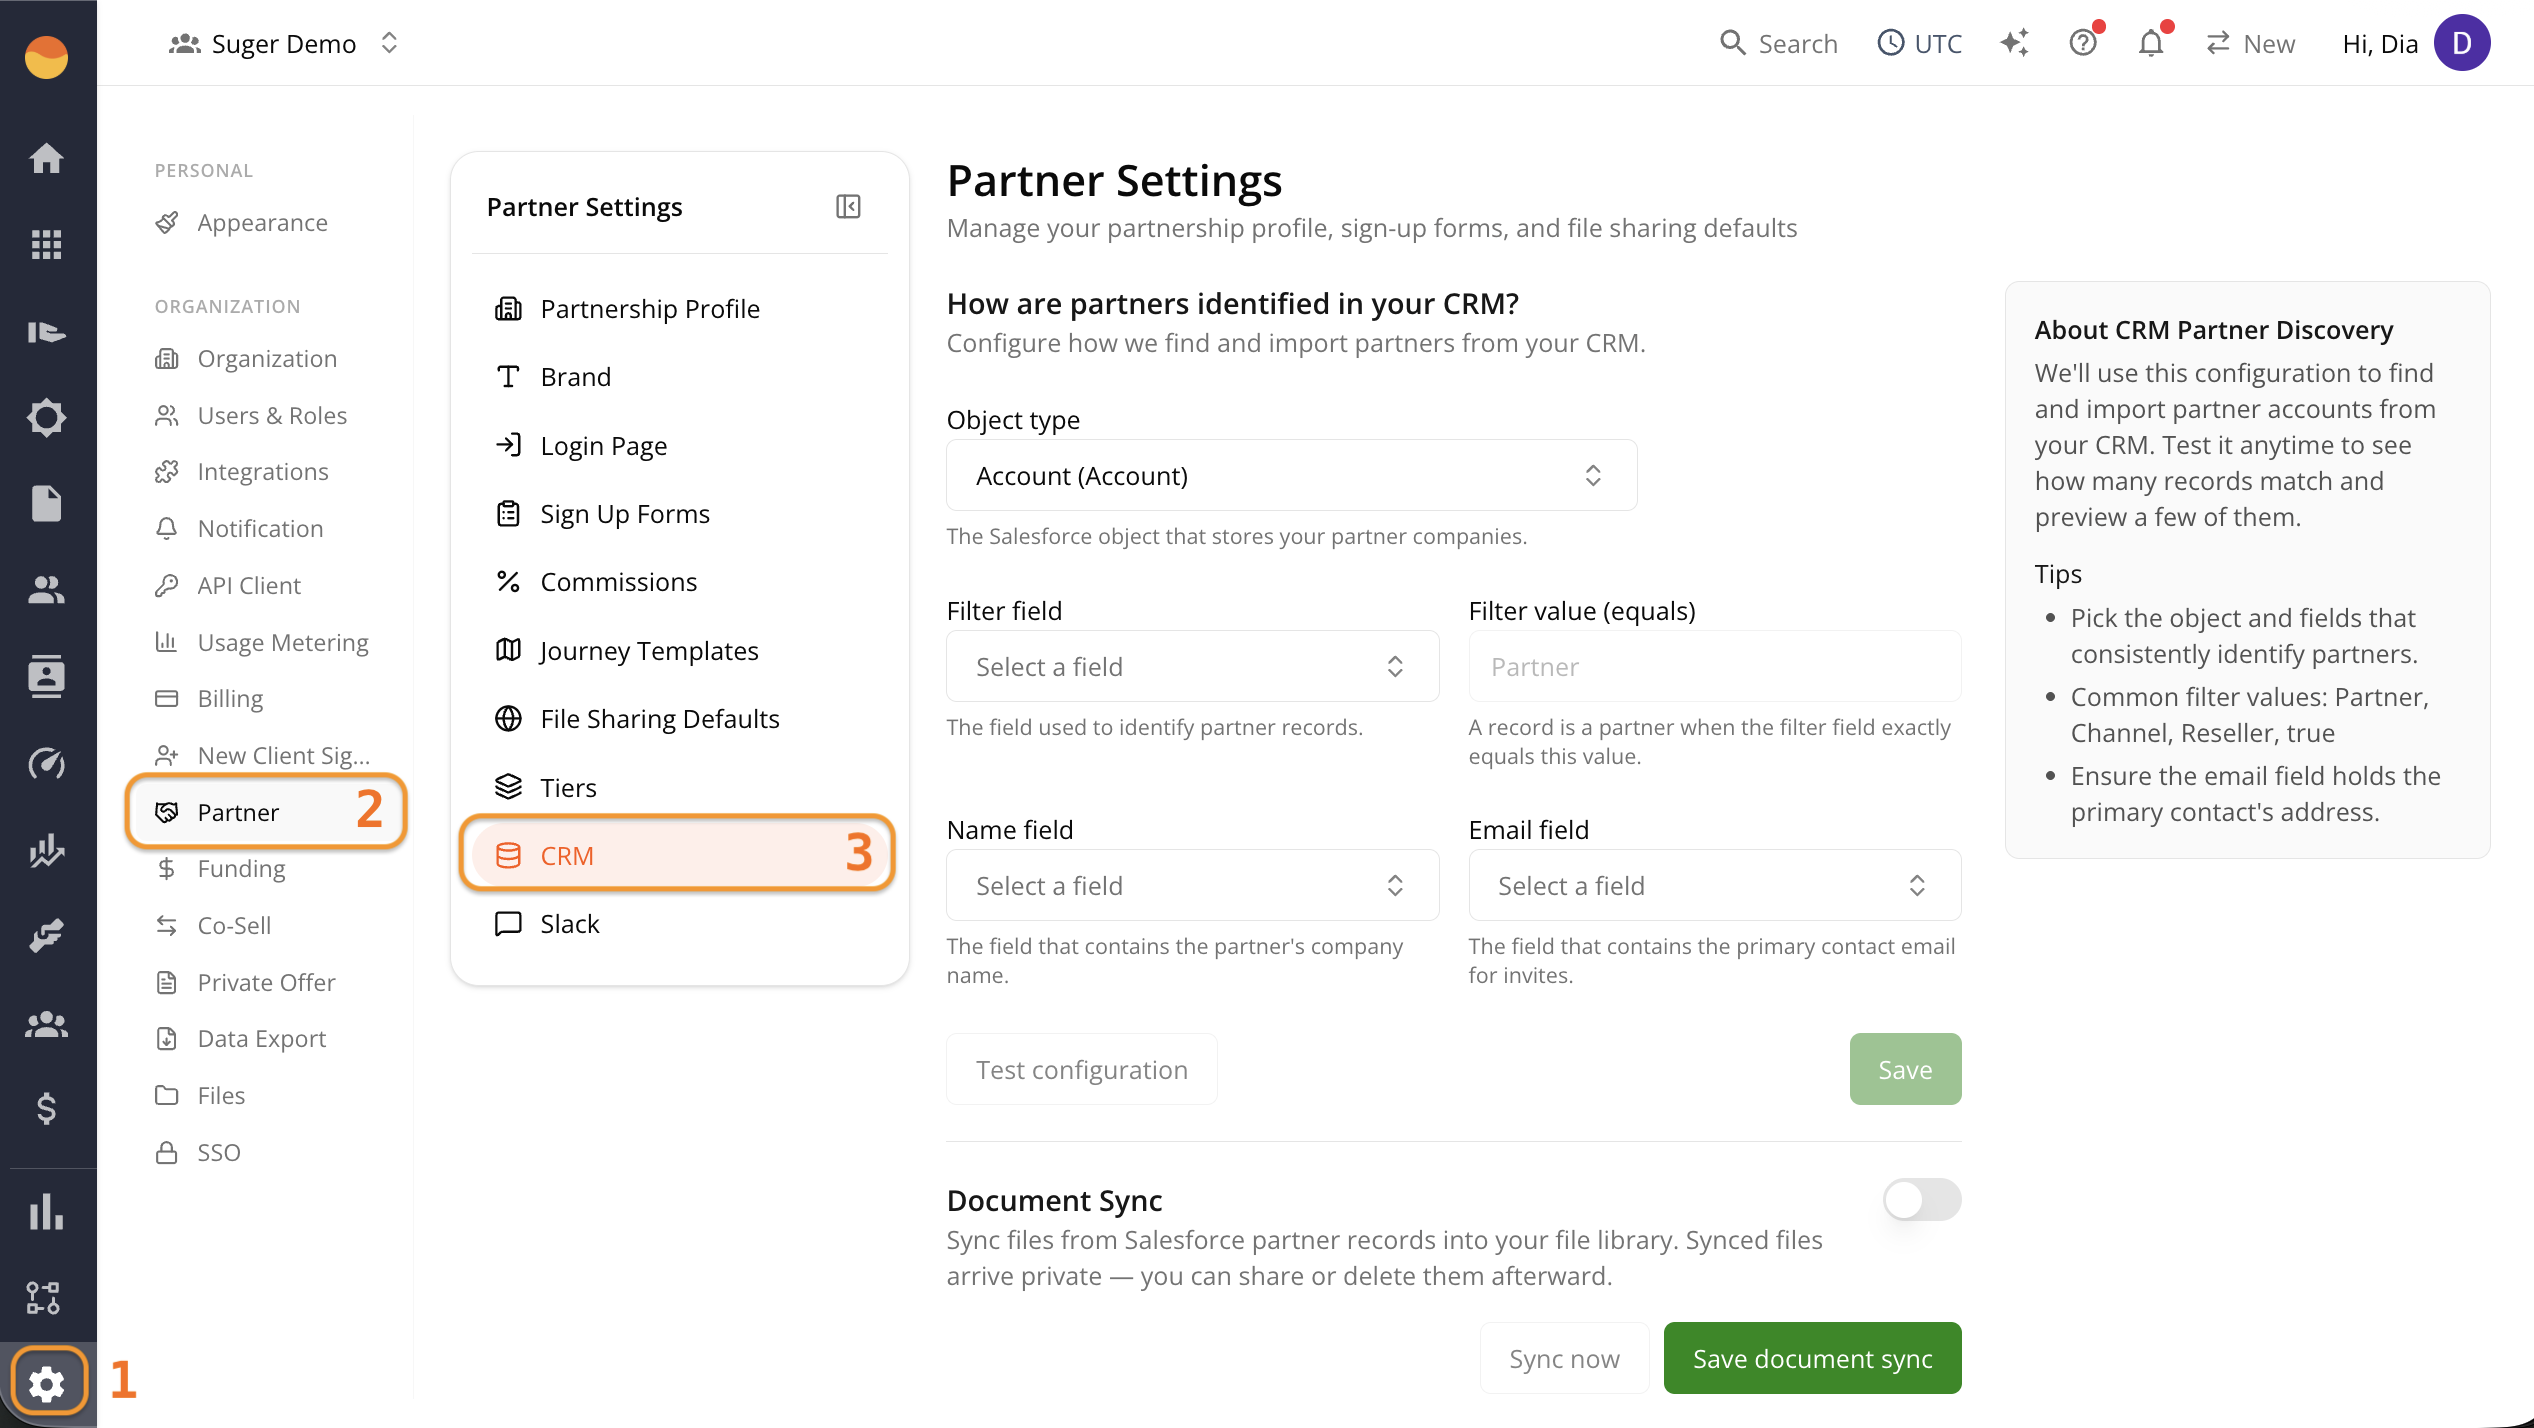
Step 1: Access your partner settings
- Go to Suger Console, then Settings.
- Click Partner, then CRM.
Step 2: Choose the object that stores your partners
Under Object type, select the Salesforce object where your partner companies are stored.
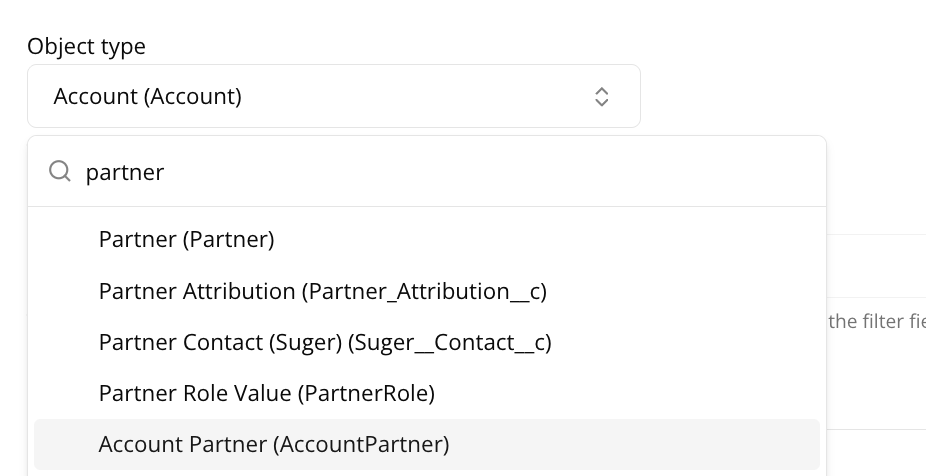
Step 3: Set the filter that identifies a partner
Most teams mark partner accounts using an existing Salesforce field rather than a dedicated “is this a partner” checkbox. This step tells Suger which field and value to look for, so it knows which accounts are partners and which are regular customers.

- Under Filter field, select the field your team uses to mark an account as a partner — for example, the Account object’s Type field.
- Under Filter value (equals), select or enter the value that field holds on partner records.
What this field looks like depends on how it’s set up in your Salesforce org:
- If it’s a picklist (a fixed dropdown of options), Suger shows you the same dropdown, so you just select the matching value — for example Partner — with no risk of a typo.
- If it’s a free-text field, you’ll need to type the value manually, and it must exactly match what’s stored on the record. Confirm the correct spelling and case with whoever manages your Salesforce data.
Step 4: Map the name and email fields
- Under Name field, select the field that holds the partner’s company name.
- Under Email field, select the field that stores the email address you want Suger to use when inviting the partner. Depending on your Salesforce setup, this may be an Account field or a custom field.

Step 5: Test and save
- Click Test configuration. Suger shows how many accounts match and a sample of the results.
- Check the Sample matches table to confirm company names and emails look correct.
- Click Save.
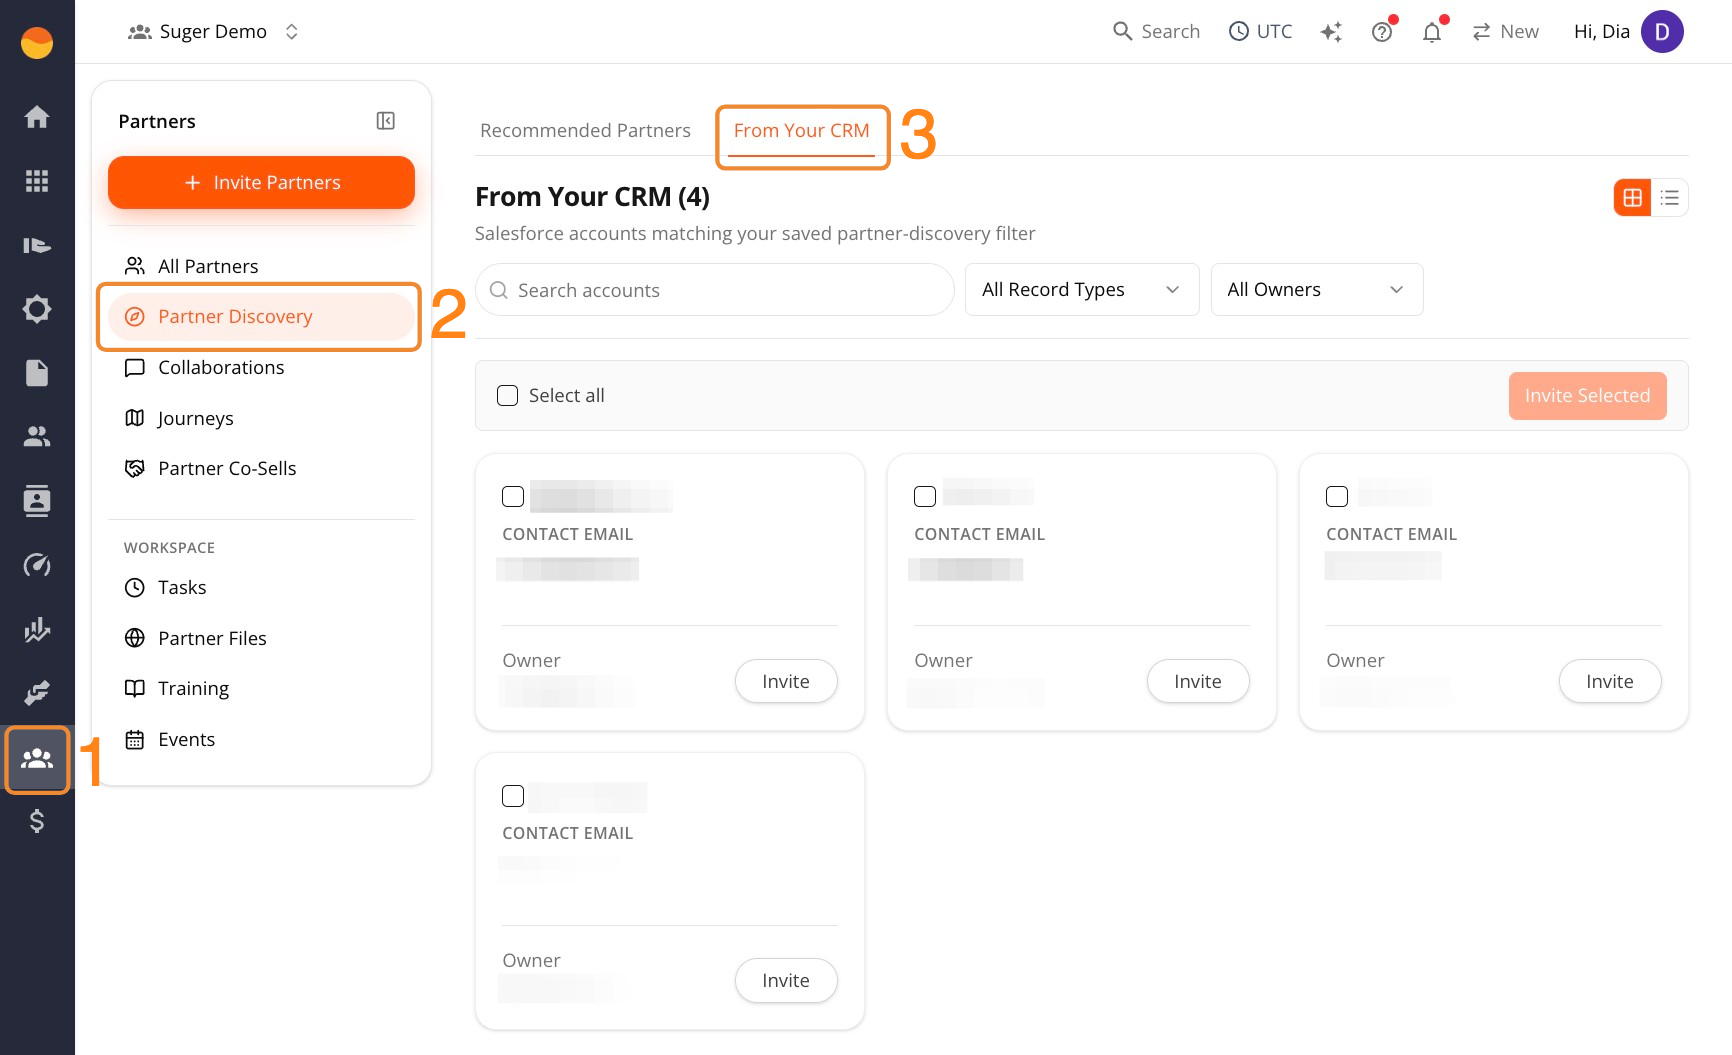
Step 6: Check where matched partners show up
After you save the configuration, matching accounts appear under Partners → Partner Discovery → From Your CRM. See Navigate the Partner Console to learn more about Partner Discovery.
Set Up Automatic Document Sync
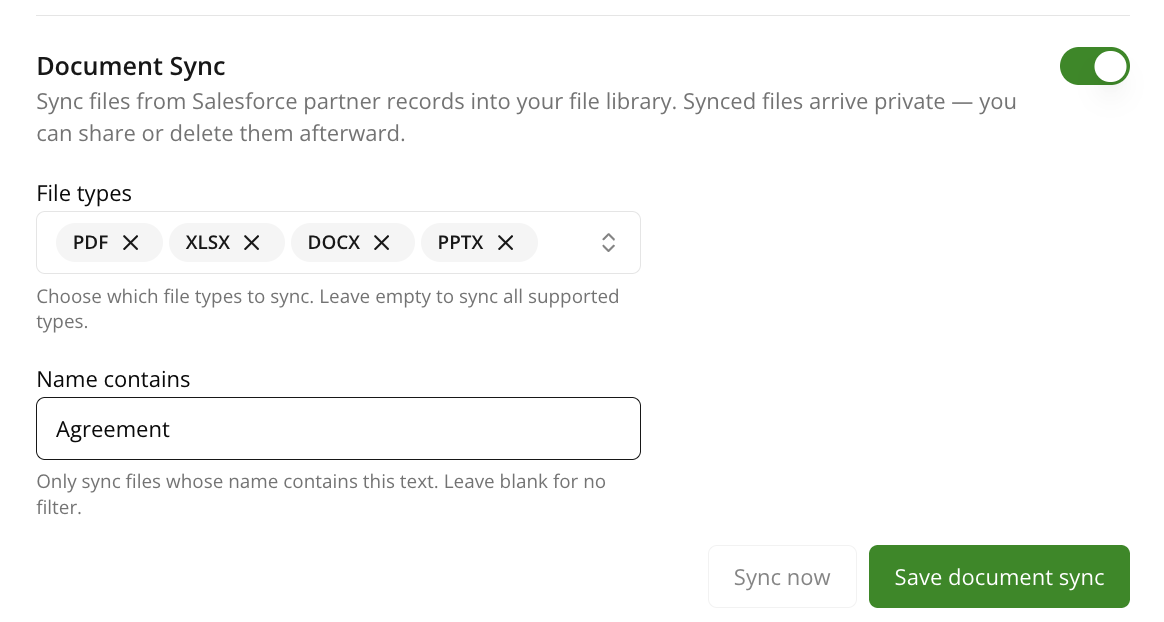
Document Sync adds files from your Salesforce partner records into your Suger file library automatically.
- Turn on the Document Sync toggle.
- Under File types, choose which file types to sync (PDF, PPTX, DOCX, XLSX, and others). Leave this empty to sync every supported type.
- Under Name contains, optionally enter text to only sync files whose name includes it — for example,
Agreementto pull in only agreement-related documents. Leave this blank to skip this filter. - Click Save document sync to save your settings.
- Click Sync now to immediately trigger a sync.
Once files sync, they appear in Partners → Partner Files, alongside any manually uploaded files. Use the All Sources filter and select From Salesforce to view only synced files separately.