Snowflake
Connect to Snowflake to enable real-time cloud data streaming.
Overview
Snowflake is a cloud-based data warehousing platform that allows you to store and analyze large volumes of data in real-time.
Connecting Suger to your Snowflake account enables you to automate tasks within Snowflake and integrate it with other applications, allowing for actions such as executing SQL queries, inserting rows, and updating rows in the database.
Create Integration
-
Set up a Snowflake account.
-
Follow this doc to configuring key-pair authentication. You can generate either an encrypted or an unencrypted version of the private key.
warning- When generating an encrypted private key, the key password can NOT be empty.
-
Click the "Connect" button on the "Integrations" page.
-
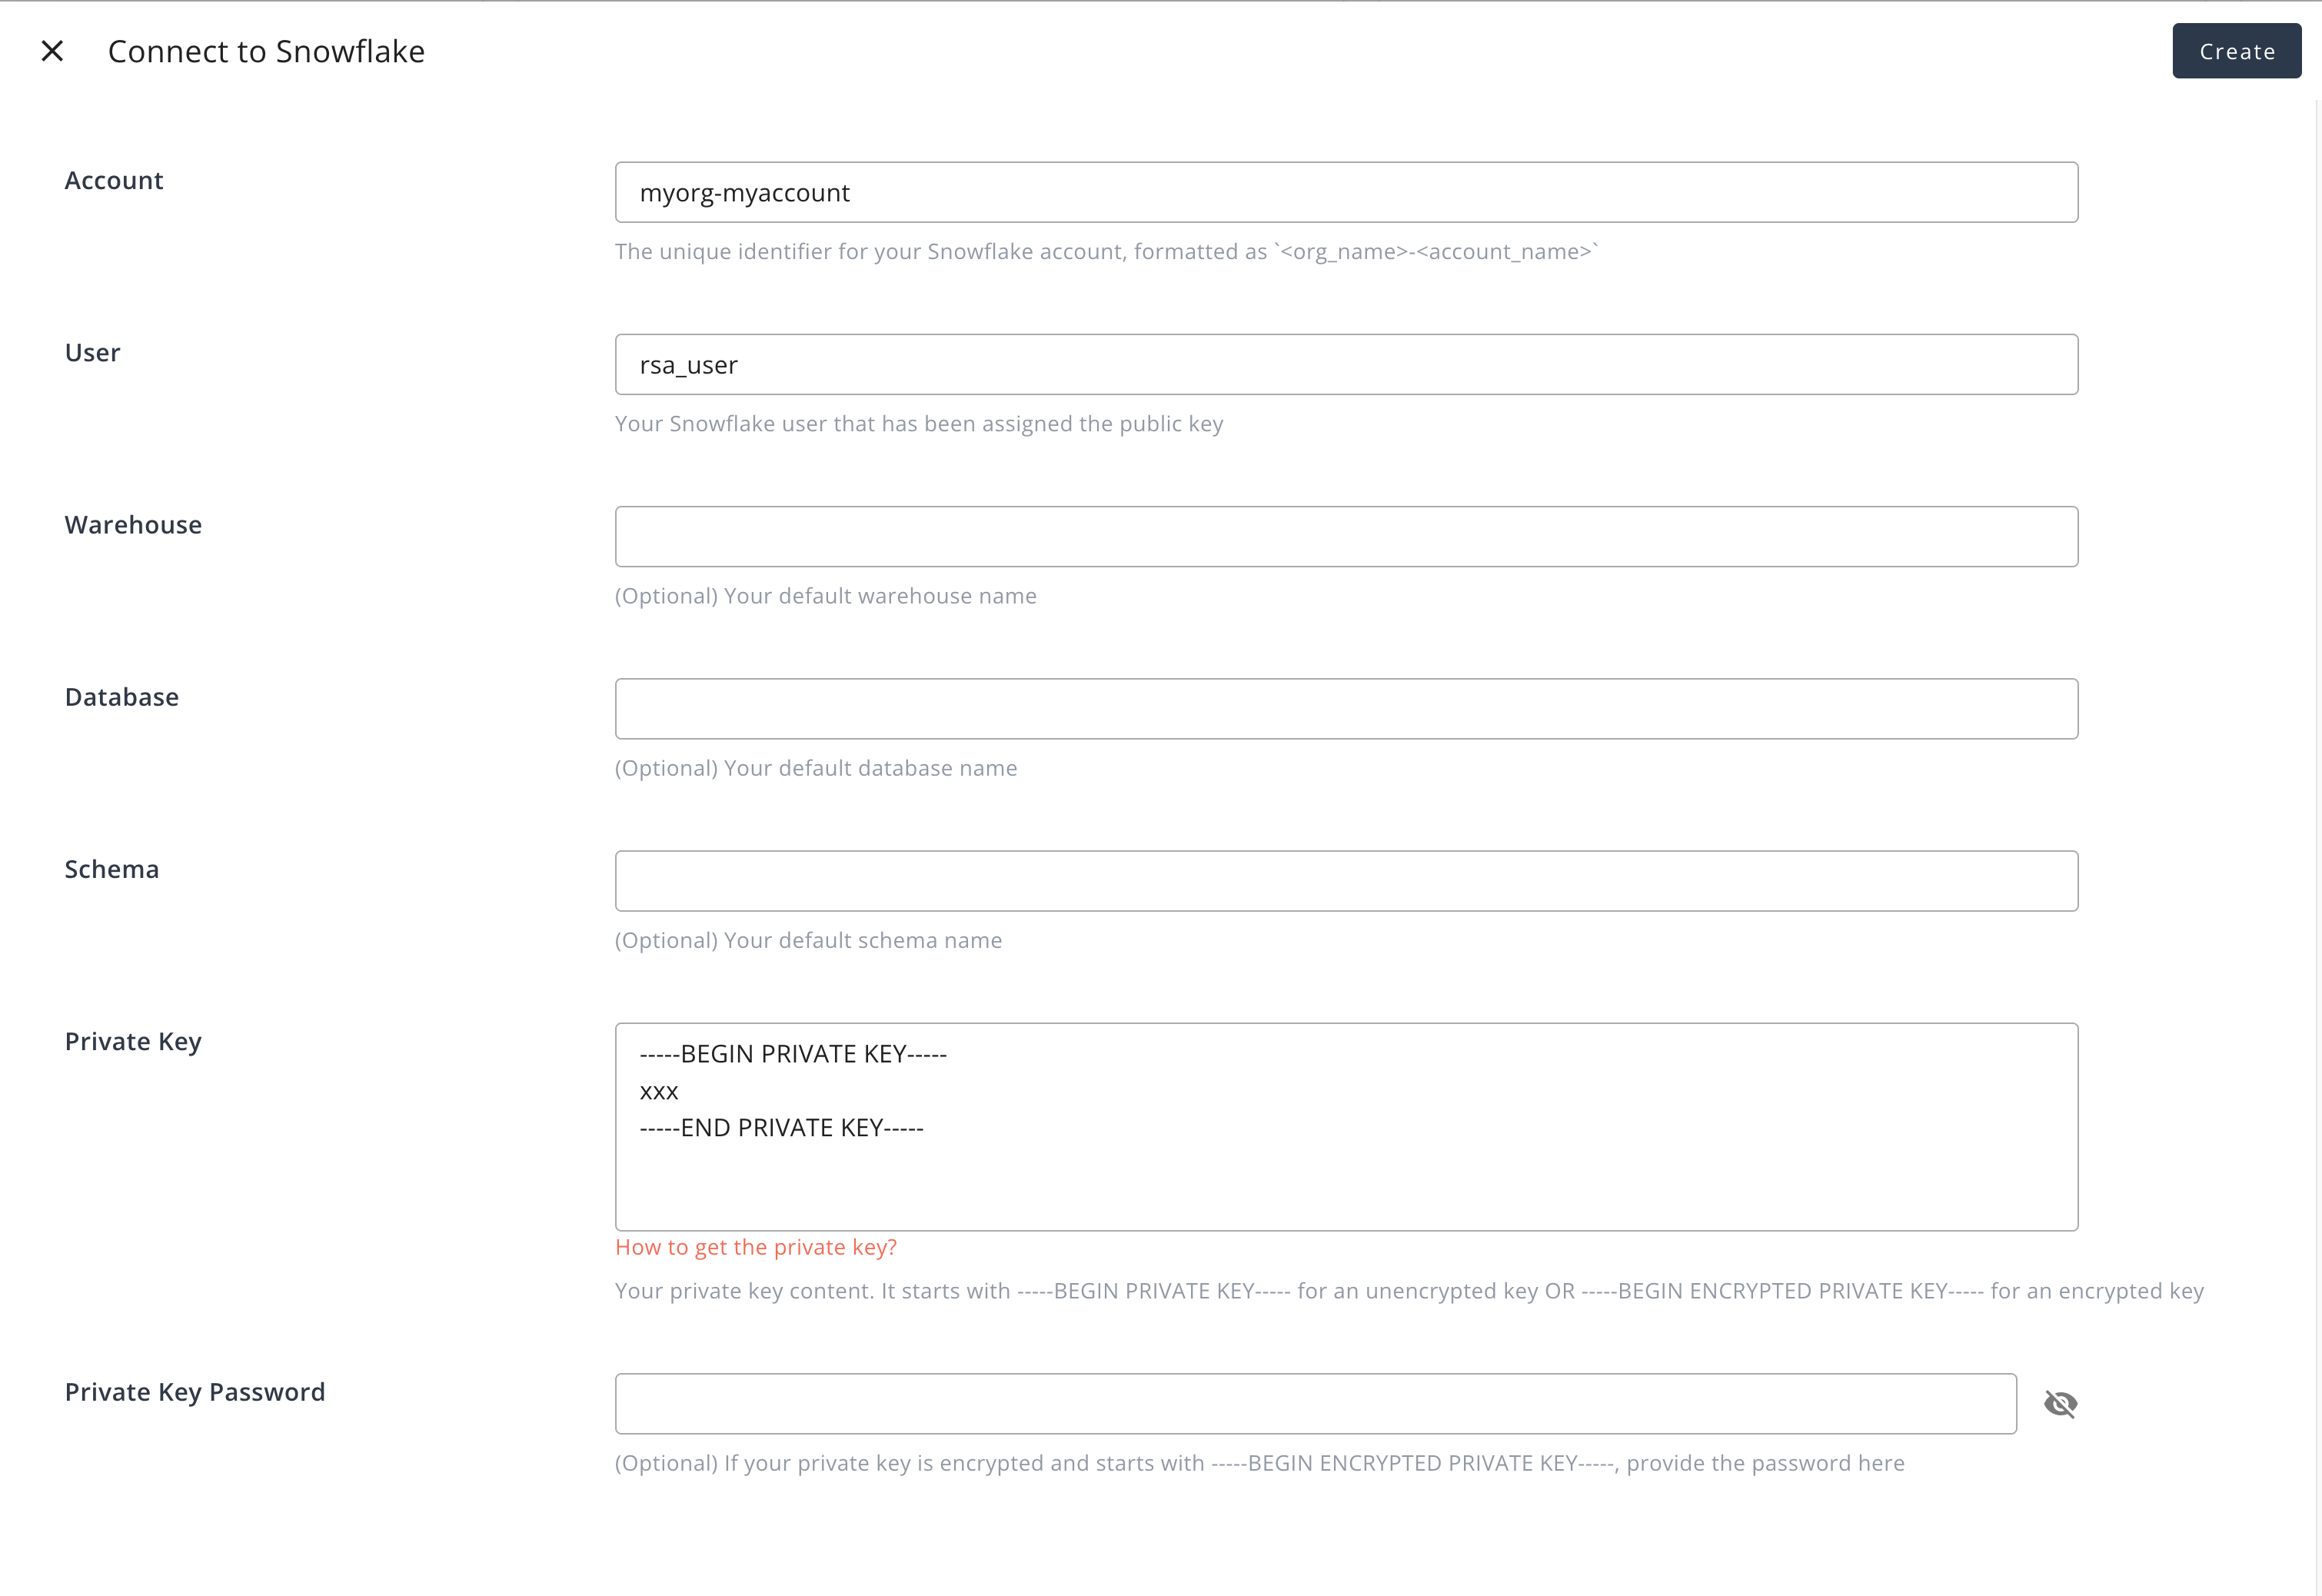
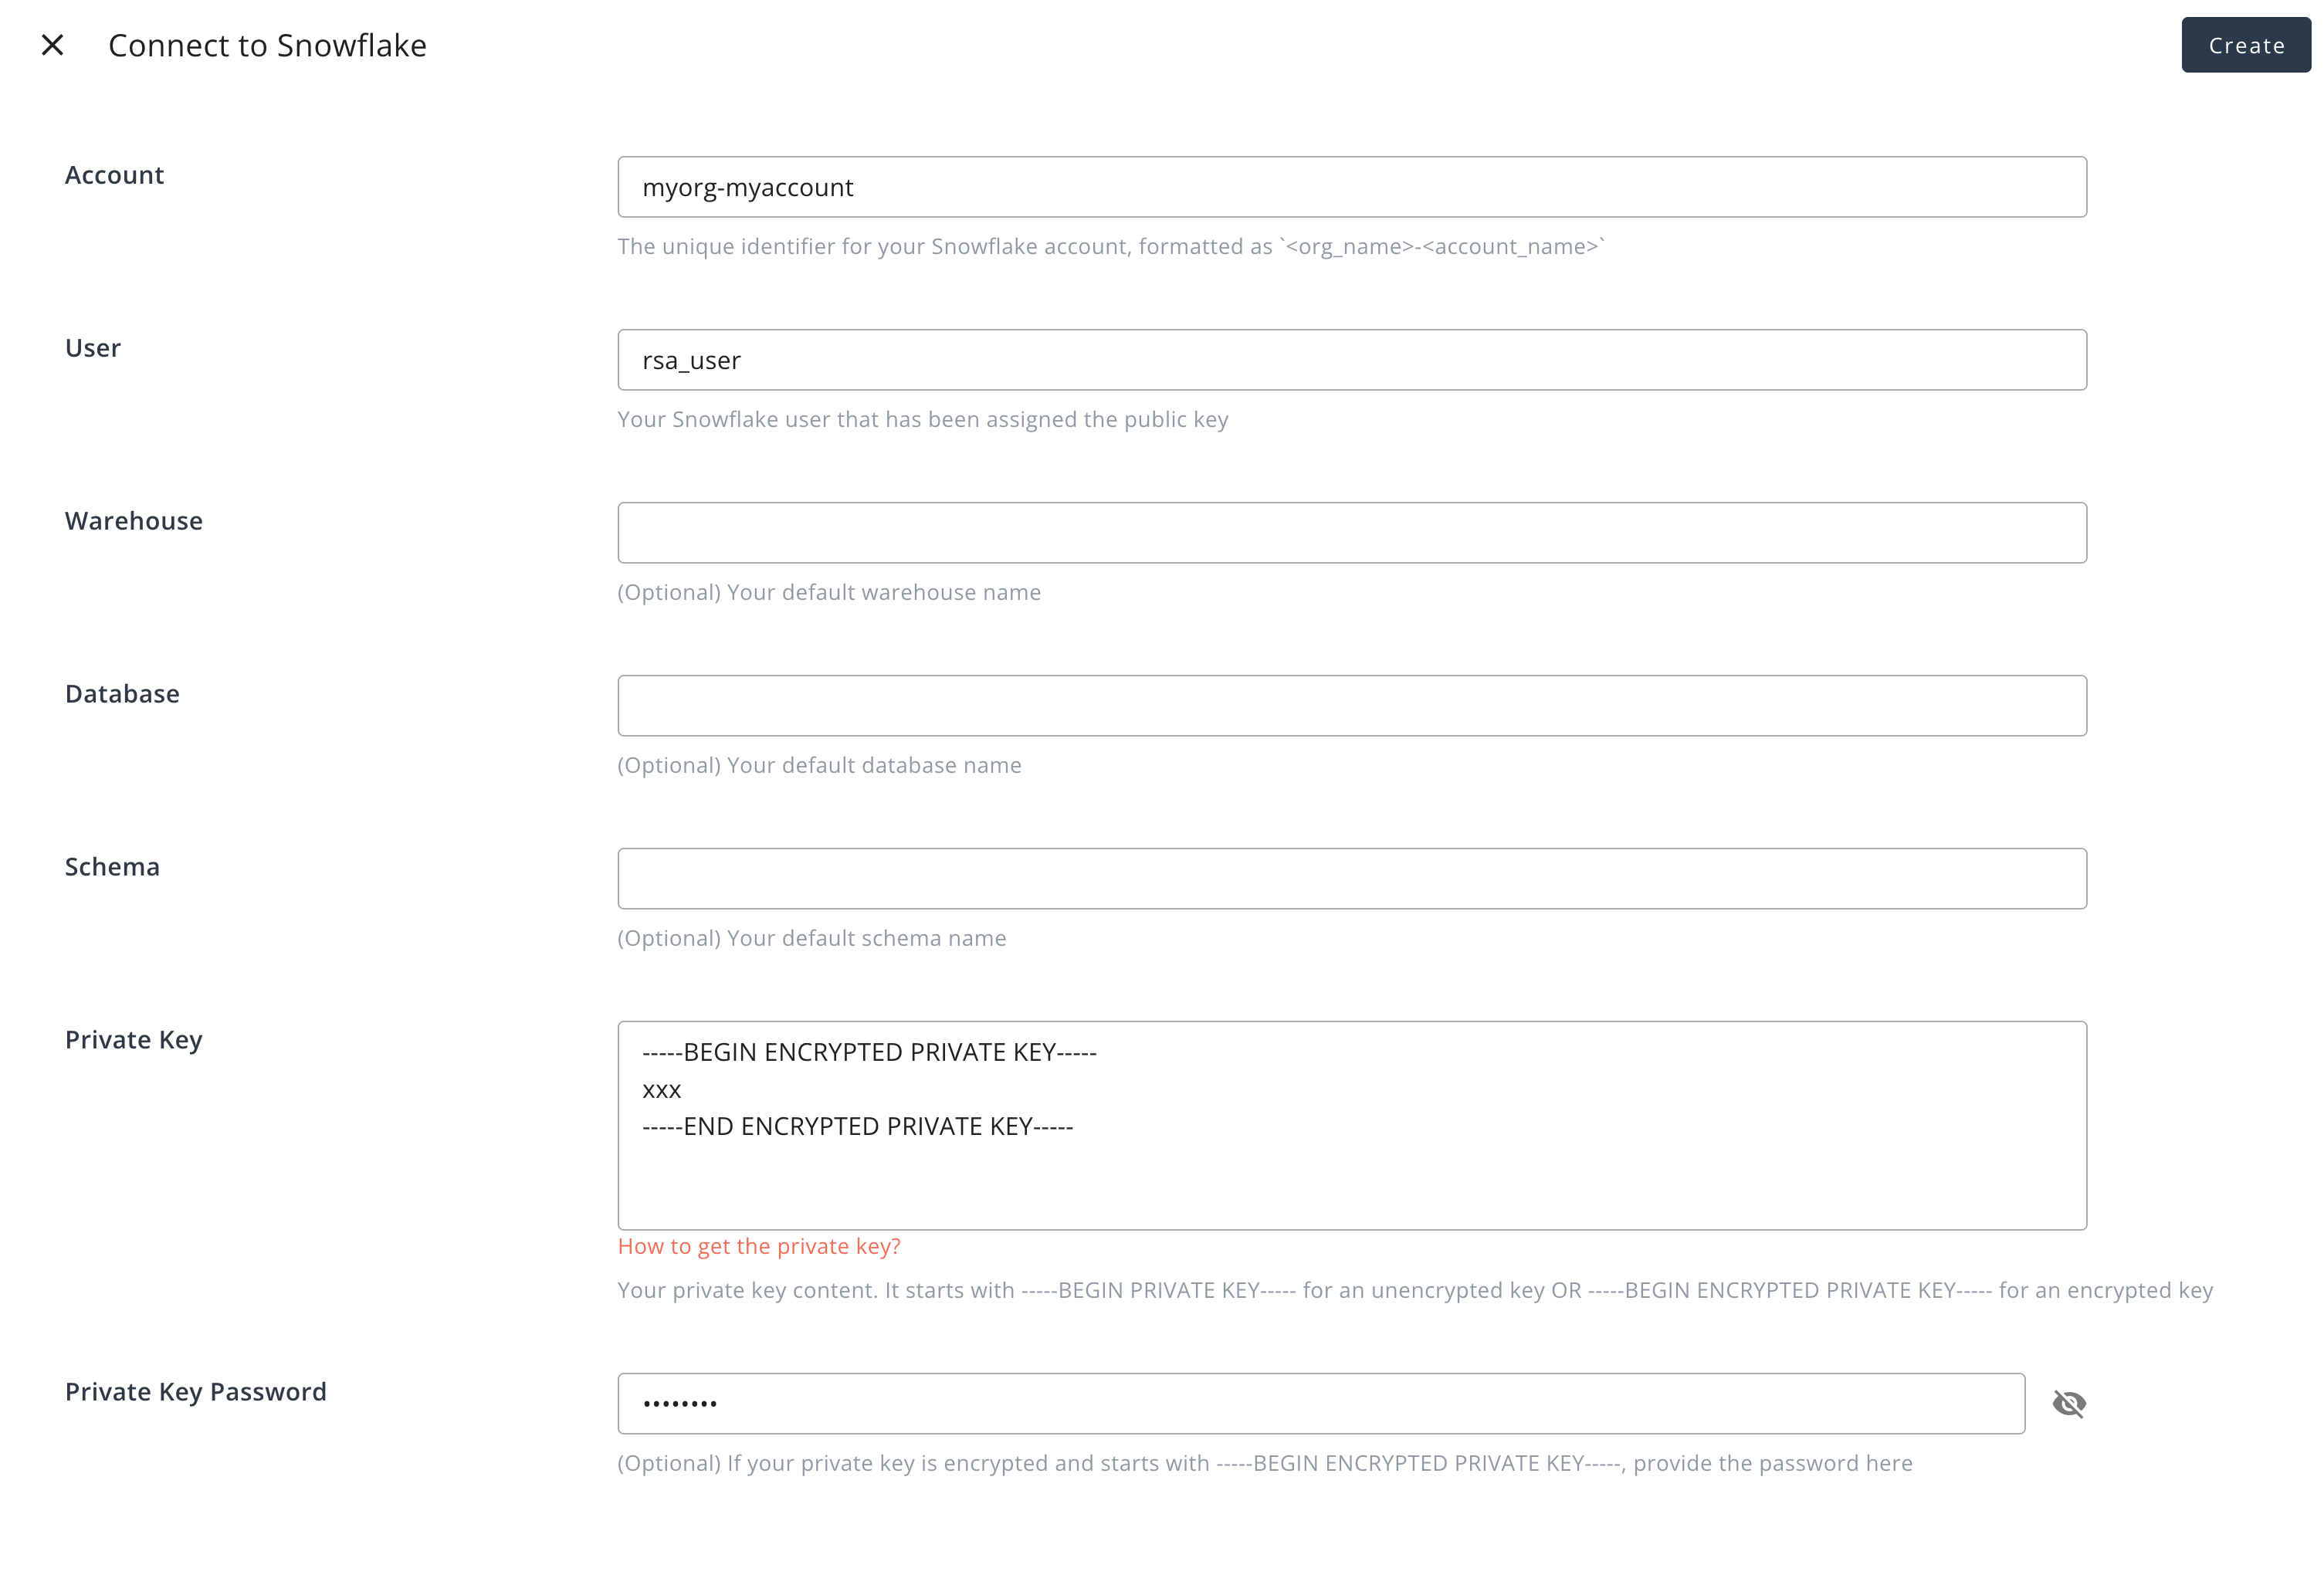
Enter Connection Information:
- Account: The unique identifier for your Snowflake account, formatted as
<org_name>-<account_name>. - User: The Snowflake user assigned the public key.
- Warehouse (Optional): The default warehouse to be used.
- Database (Optional): The default database to be used.
- Schema (Optional): The default schema to be used.
- Private Key: The private key file content you generated in step 2. This will start with:
-----BEGIN PRIVATE KEY-----for an unencrypted key-----BEGIN ENCRYPTED PRIVATE KEY-----for an encrypted key.
- Private Key Password(Optional): when using an encrypted private key, provide the password here.
Example 1: Create integration using unencrypted private key:
Example 2: Create integration using encrypted private key:
Edit Integration
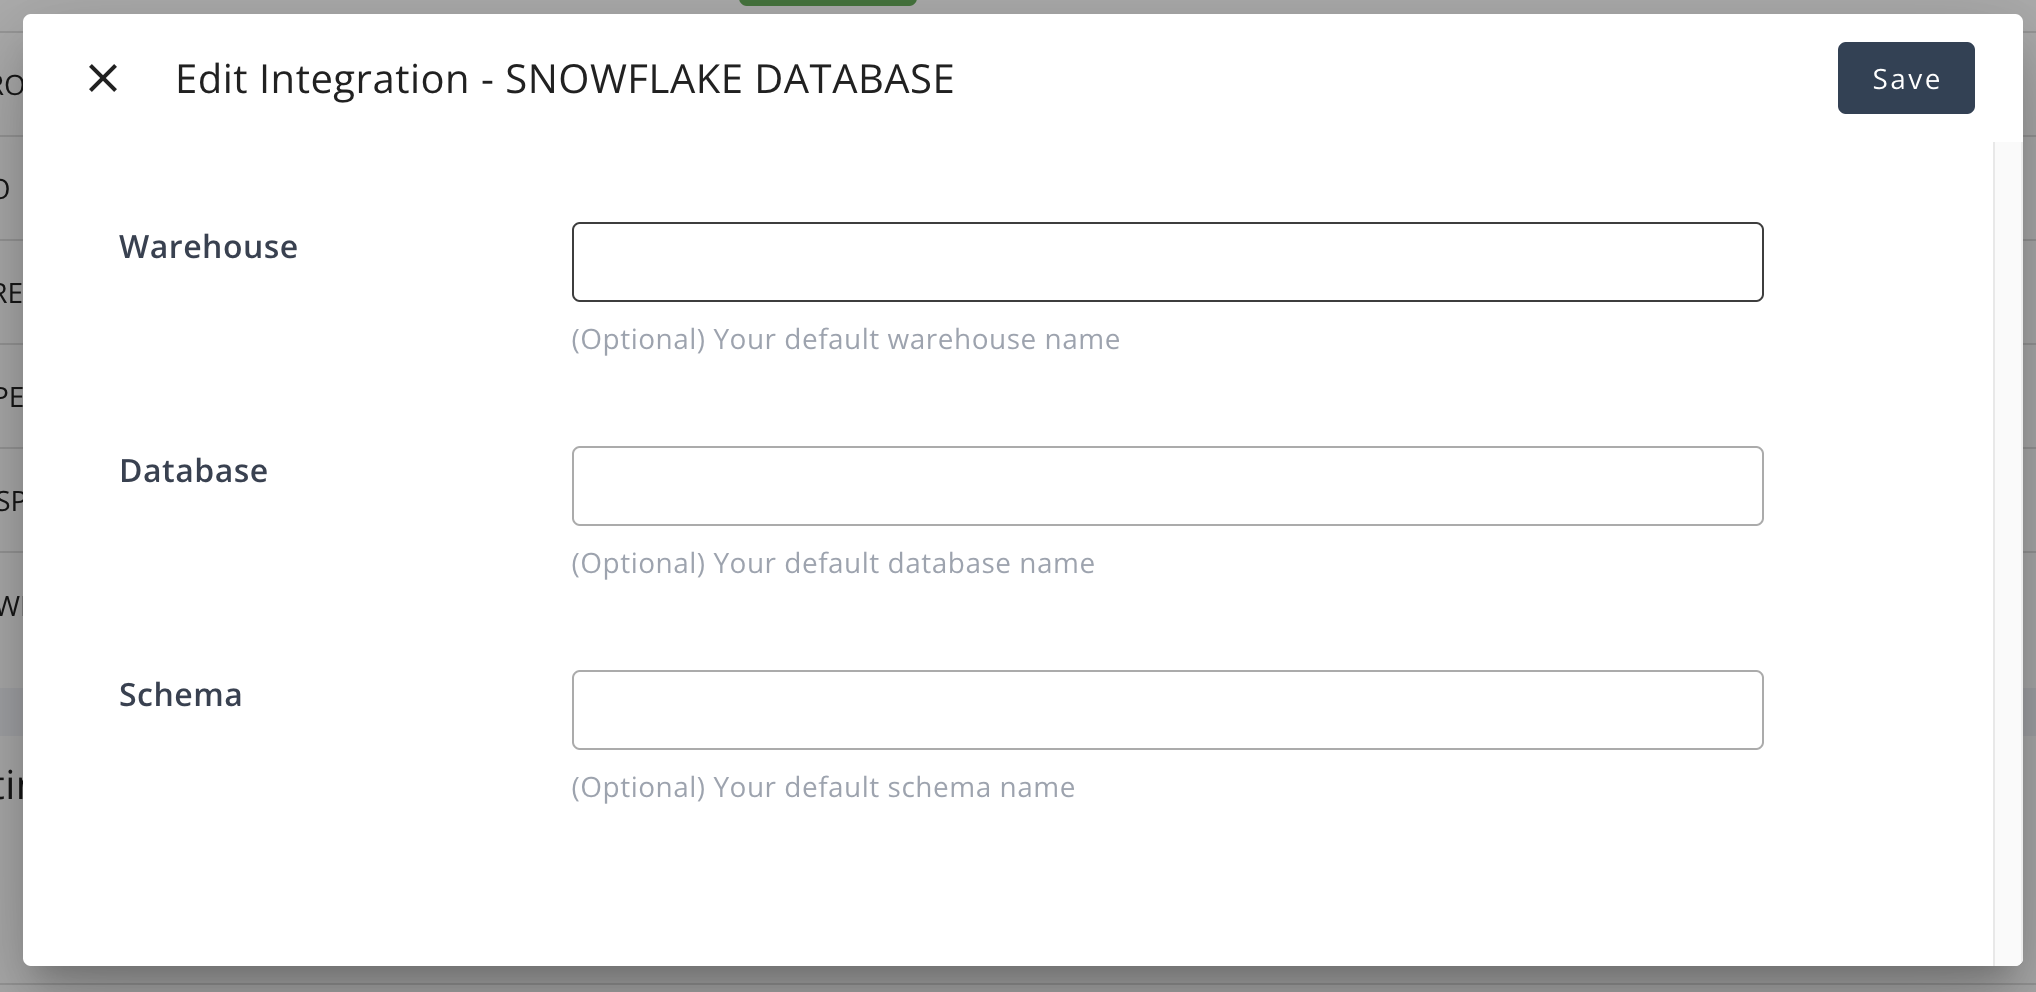
You can modify the default configurations—Warehouse, Database, and Schema—of an existing Snowflake integration.
To make changes, click the Edit button in the "Integrations" list to open the editing dialog.
Note: For security, direct credential editing is not supported. If you need to update credentials, delete the integration and recreate it.
Delete Integration
To delete the integration, simply click the 🗑️ button in the "Integrations" list. We will remove any credentials in our system.


