Quick Guide
This quick guide helps you get started with Buyer Service by walking through the essential setup steps and explaining the overall purchasing flow from a buyer’s perspective.
Step 1: Prepare your buyer organization
Before configuring integrations, ensure that your organization and users are ready to use Buyer Service.
- Your organization is onboarded as a Buyer organization
- Users have the appropriate role permissions to access Buyer Service features (at least EDITOR)
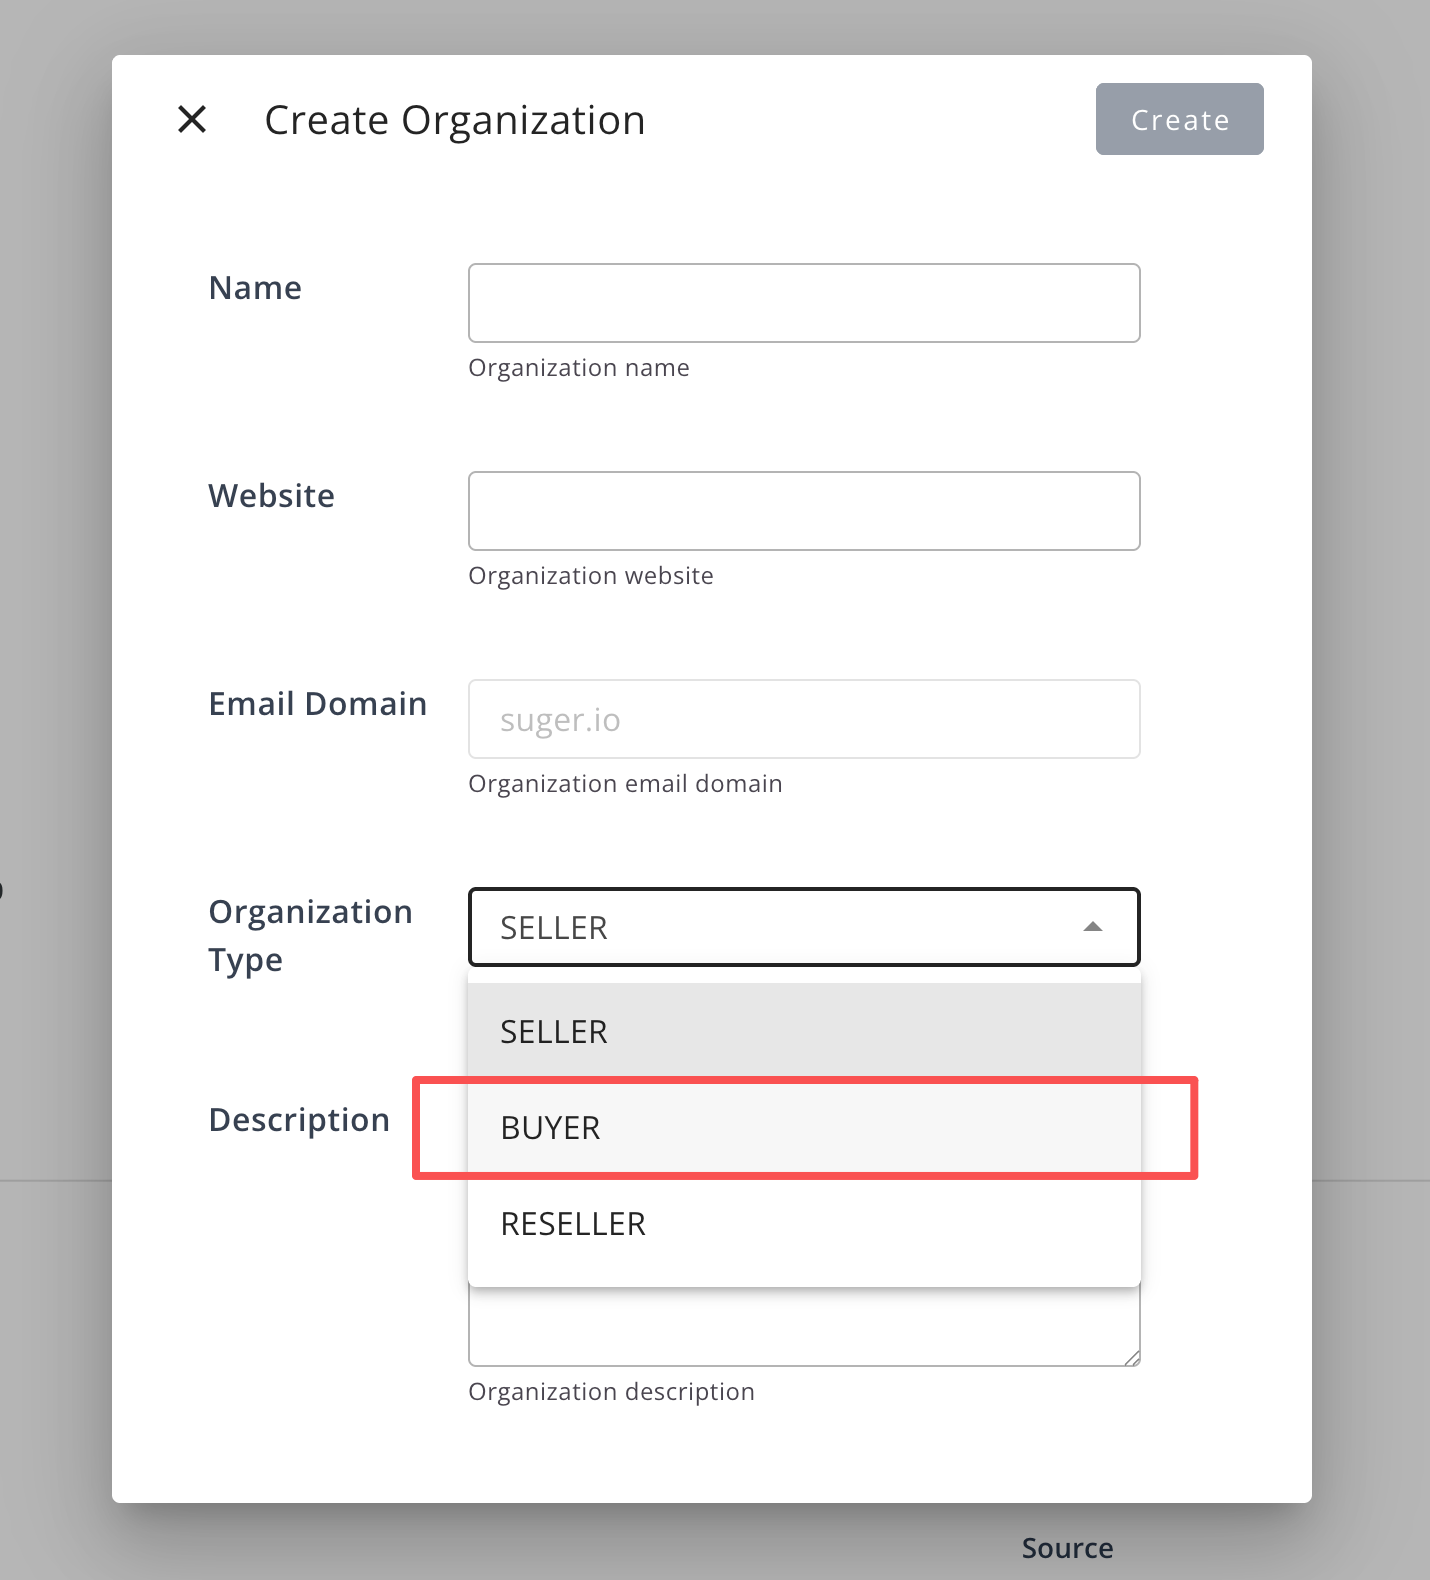
Note: If you do not yet have a buyer organization, refer to Account and make sure to select BUYER as the organization type during registration.
Step 2: Set up cloud marketplace integrations
To enable data synchronization between Buyer Service and cloud platforms, you must configure the required cloud marketplace integrations.
These integrations allow Buyer Service to synchronize offers, entitlements, invoices, and payment data from supported cloud marketplaces.
Currently supported integrations:
- AWS Marketplace integration
- Enables synchronization of private offers and entitlements.
- AWS Billing integration
- Enables synchronization of invoice and payment information

Note: Buyer Service is designed to support multiple cloud marketplaces. The available integrations depend on the cloud platforms enabled for your organization. Currently, only the AWS Marketplace is supported.
Step 3: Understand the purchasing flow
Buyer Service supports a structured purchasing flow that helps buyers manage cloud marketplace purchases efficiently:
-
Discover and manage vendors Browse available vendors and add them to your Managed Vendor List.
-
Initiate a purchase request (optional)
Procurement users can create purchase requests based on predefined workflows to initiate internal approvals. These workflows are system-defined and cannot be configured by users at this time.
-
Review and approve requests using tasks (optional)
Approvers review requests through the Task system and approve or decline them according to the workflow.
-
Receive and accept offers
Once a vendor sends an offer, buyers can review offer details and accept the offer directly in Buyer Service.
-
Manage entitlements and billing
After an offer is accepted, buyers can track entitlements, view invoices, and monitor payment information in one centralized place.
Step 4: Recommended starting point
After completing the initial setup, we recommend starting with the following workflow:
- Add a vendor to your Managed Vendor List
- Explore available products and offers from that vendor
- Create a purchase request or wait for an incoming offer
- Accept the offer and begin managing entitlements, invoices, and payments
What’s next
For detailed instructions and advanced usage, refer to the following sections:
- Home – View high-level financial and commitment metrics, including AWS PPA Commit, charges, applied credits, and net cost
- Vendor – Discover vendors and manage vendor-related information
- Offer & Entitlement – Review offers and manage contract entitlements
- Invoice & Payment – Track invoices and payment records
- Request & Task – Learn how approval workflows and tasks work in detail