Navigate the Suger Console
Find your way around the Suger Console using the left navigation menu and the top bar tools.
Overview
The Suger Console is organized into two areas. The menu on the left side of your screen is your primary control center for your quote-to-cash flow. The top bar gives you quick access to tools that help you work faster and get support.
Main Navigation Menu
Use the left-hand menu to move between the core areas of your quote-to-cash workflow.
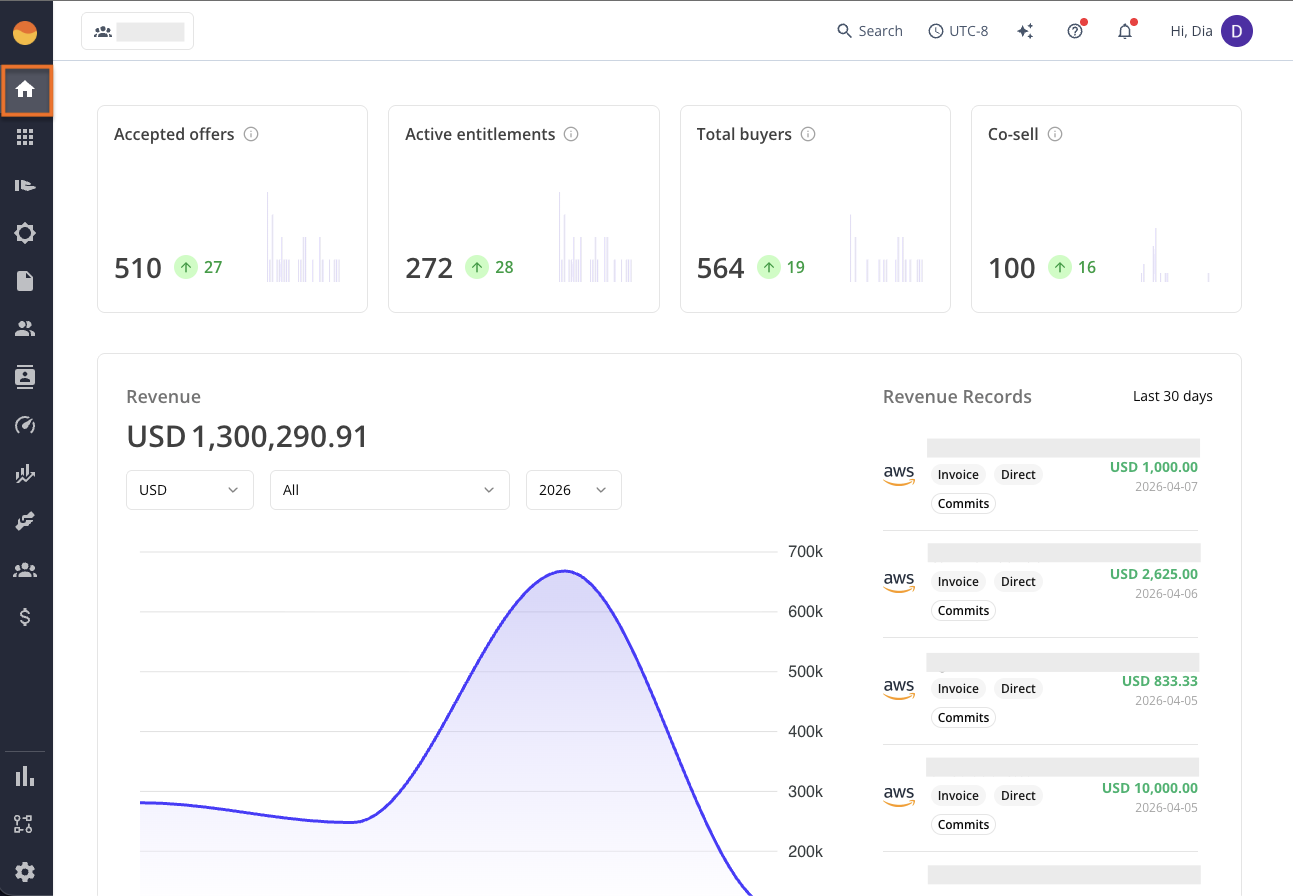
Home
Use this as your daily starting point. It gives you a quick snapshot of marketplace health, revenue movement, and key operational changes. If something is off in your pipeline or revenue flow, you’ll usually spot it here first.
Product
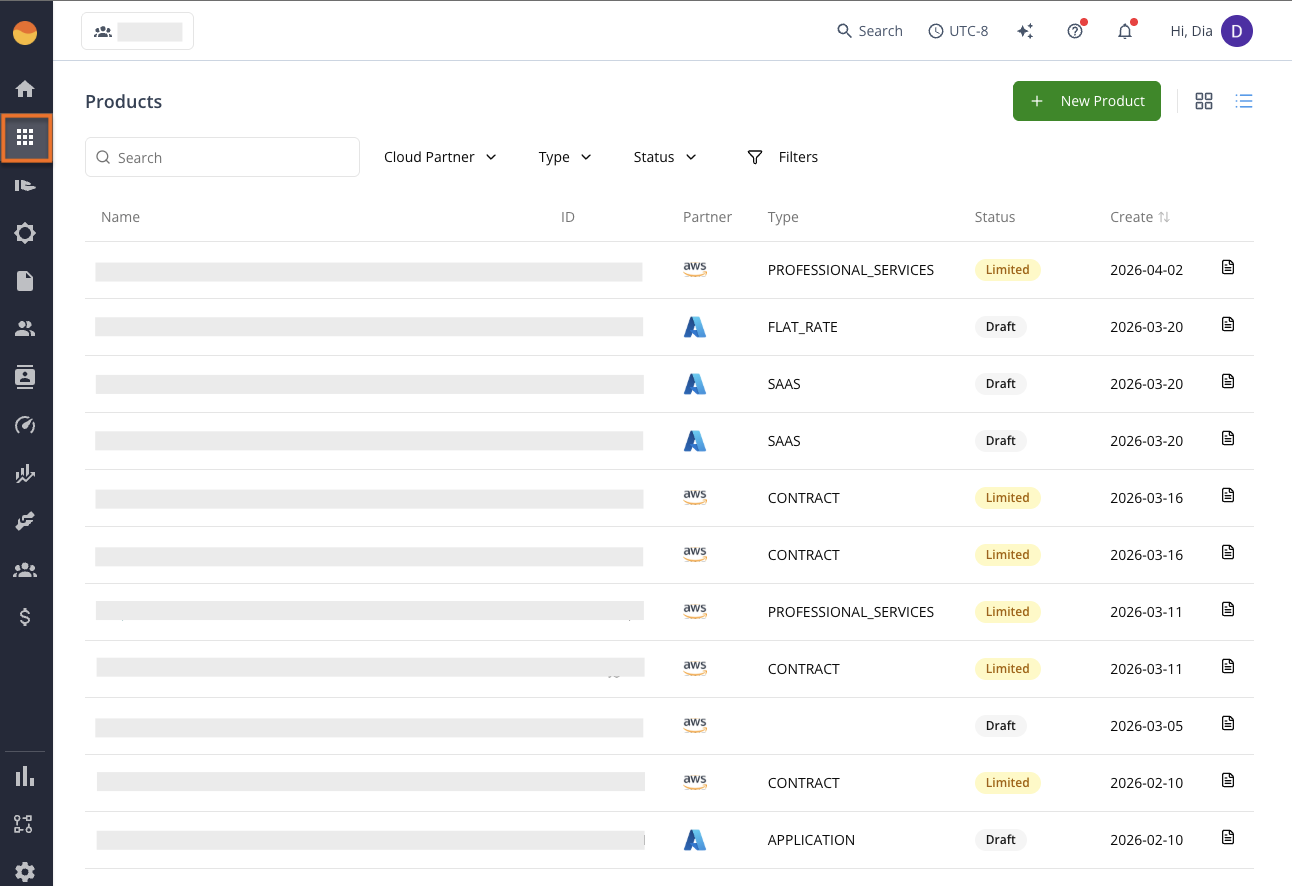
Use this when you are preparing something to sell. This is where you create and manage product listings across AWS, Azure, and GCP. Come here when launching a new product, updating listing details, or maintaining existing marketplace offerings.
Offer
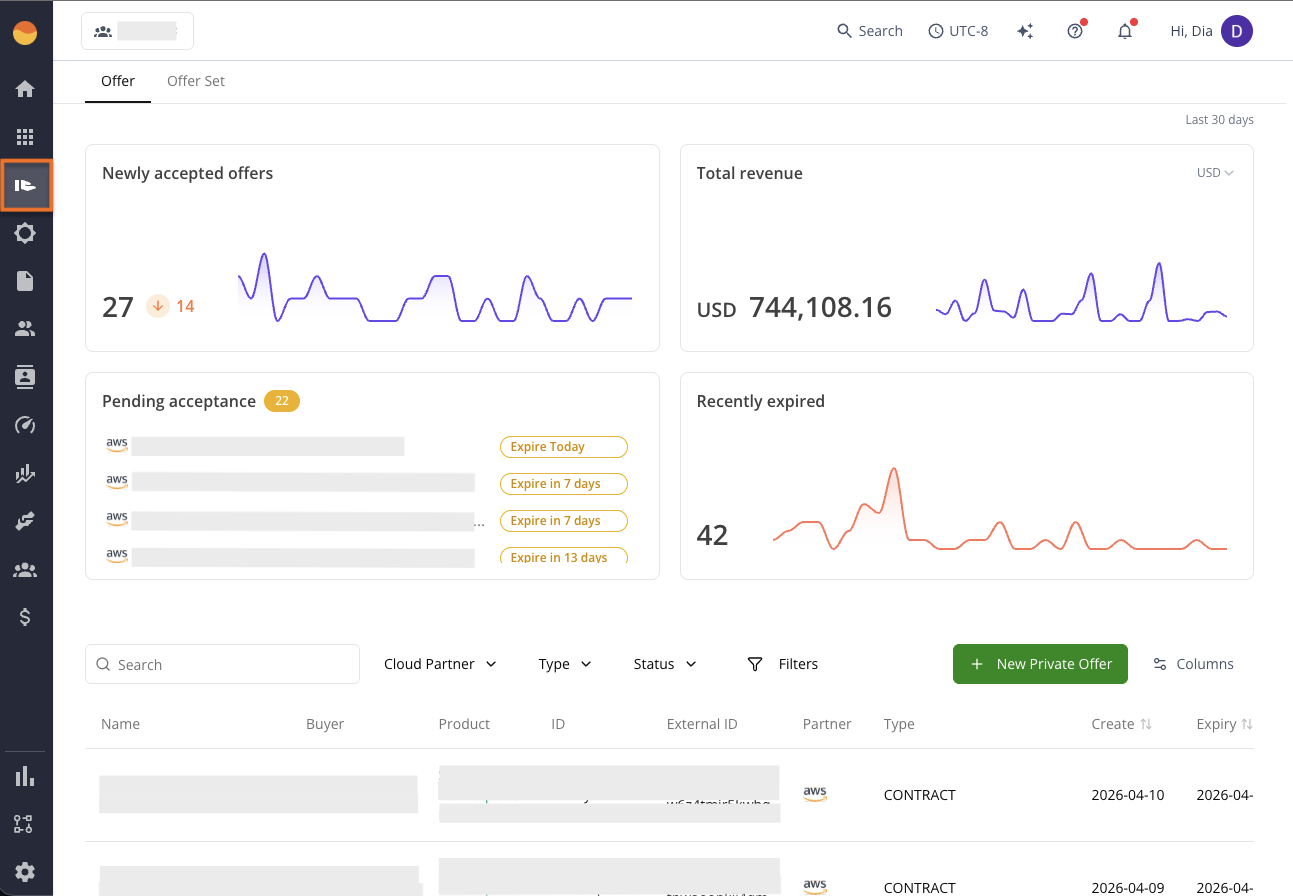
Use this when you are actively closing deals. From here, you can create and track Private Offers sent to buyers.
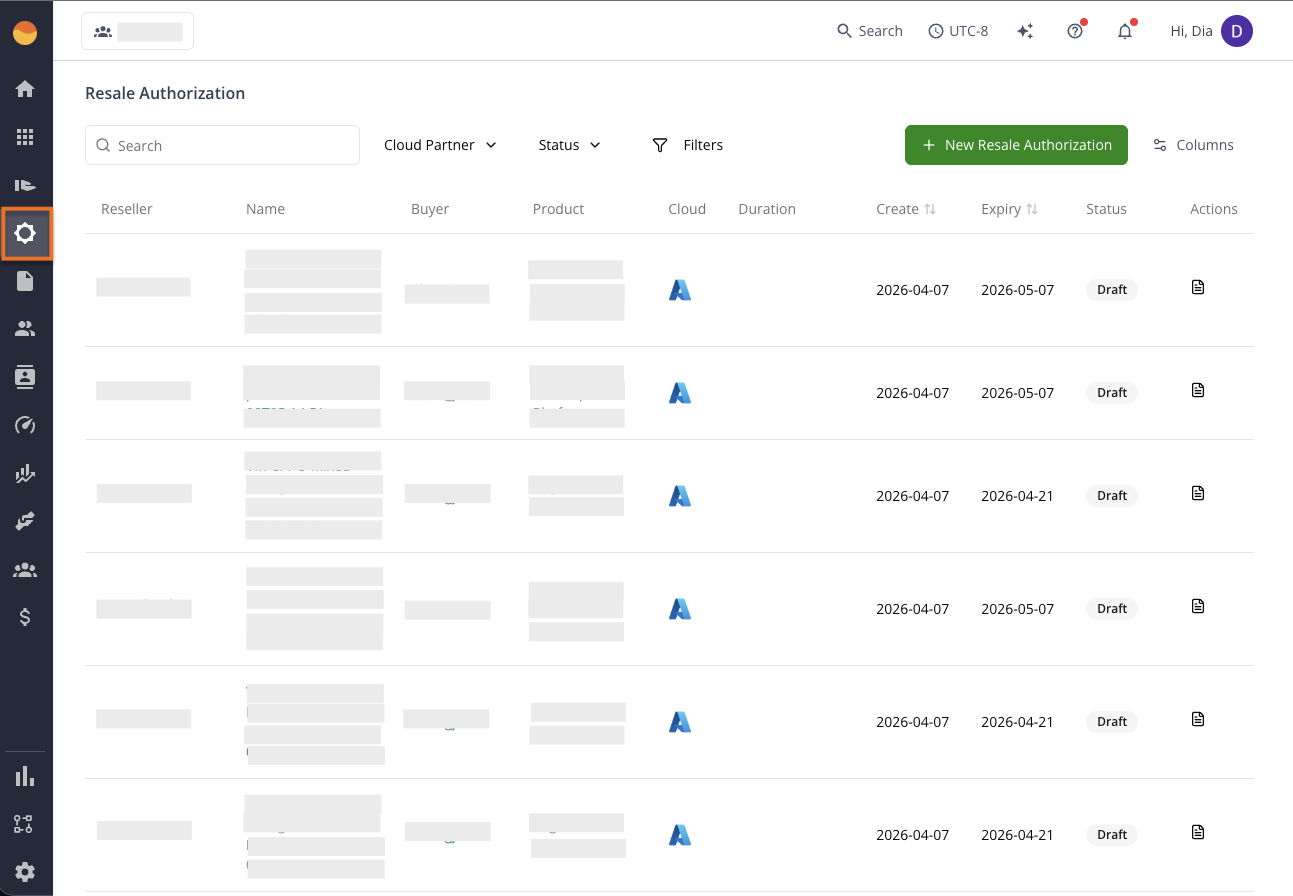
Resale
Use this when working with partners or channel-led deals. This is where you manage CPPO (Channel Partner Private Offers) and handle resale authorizations.
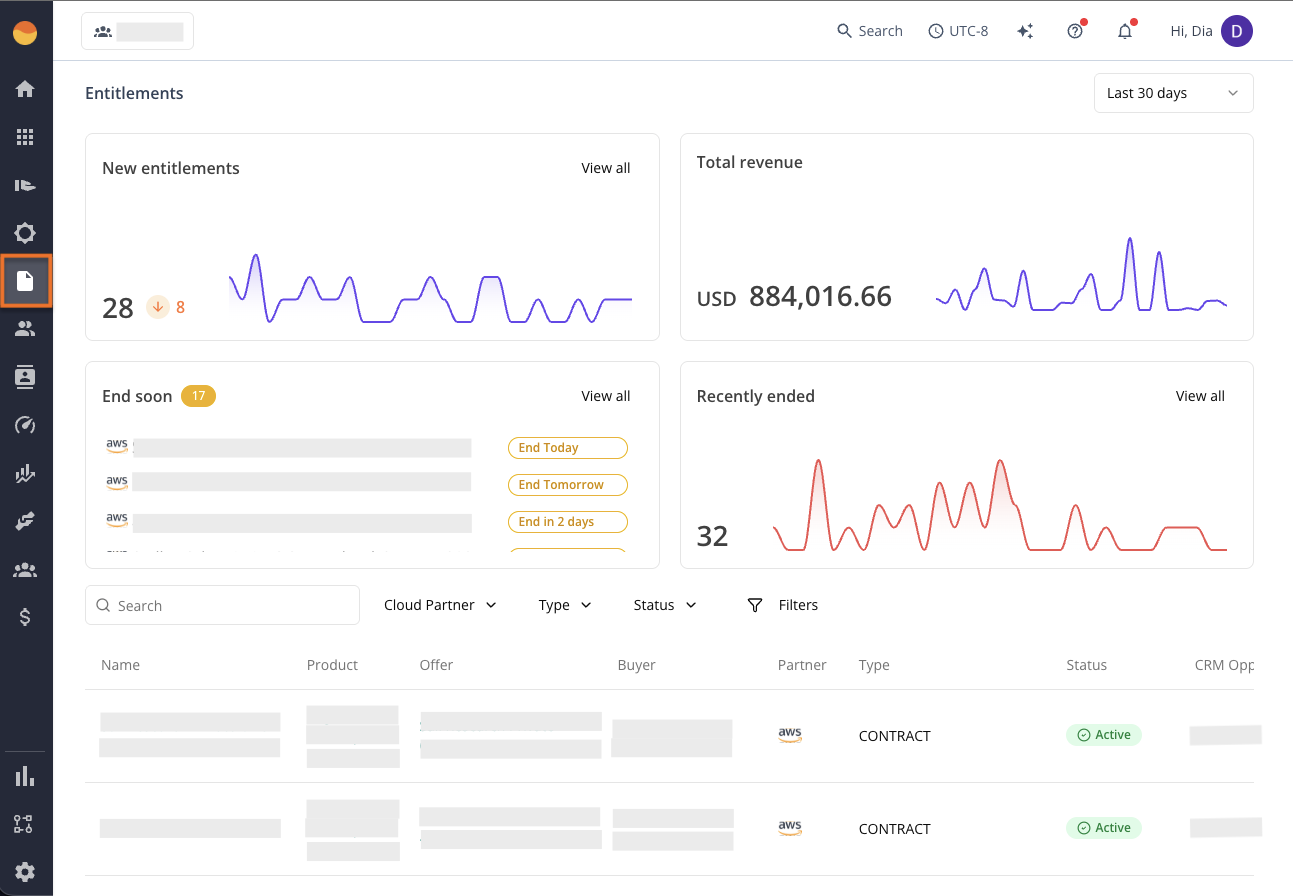
Entitlement
Use this when you need the truth of “who actually bought what.” This is your system of record for active contracts, subscriptions, and accepted offers.
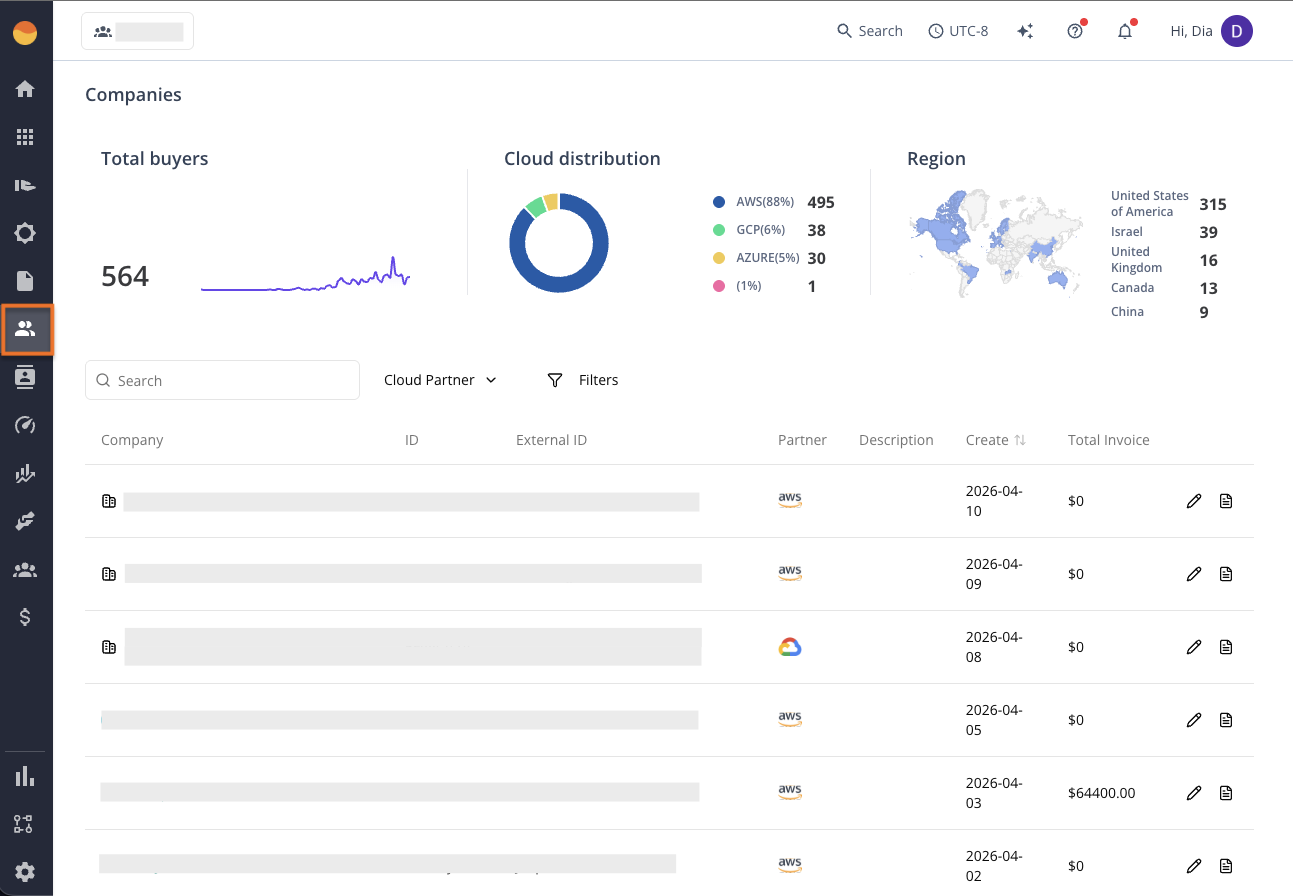
Company
Use this when working on account-level visibility. It consolidates everything about a buyer account, including activity, financial history, and enriched company data.
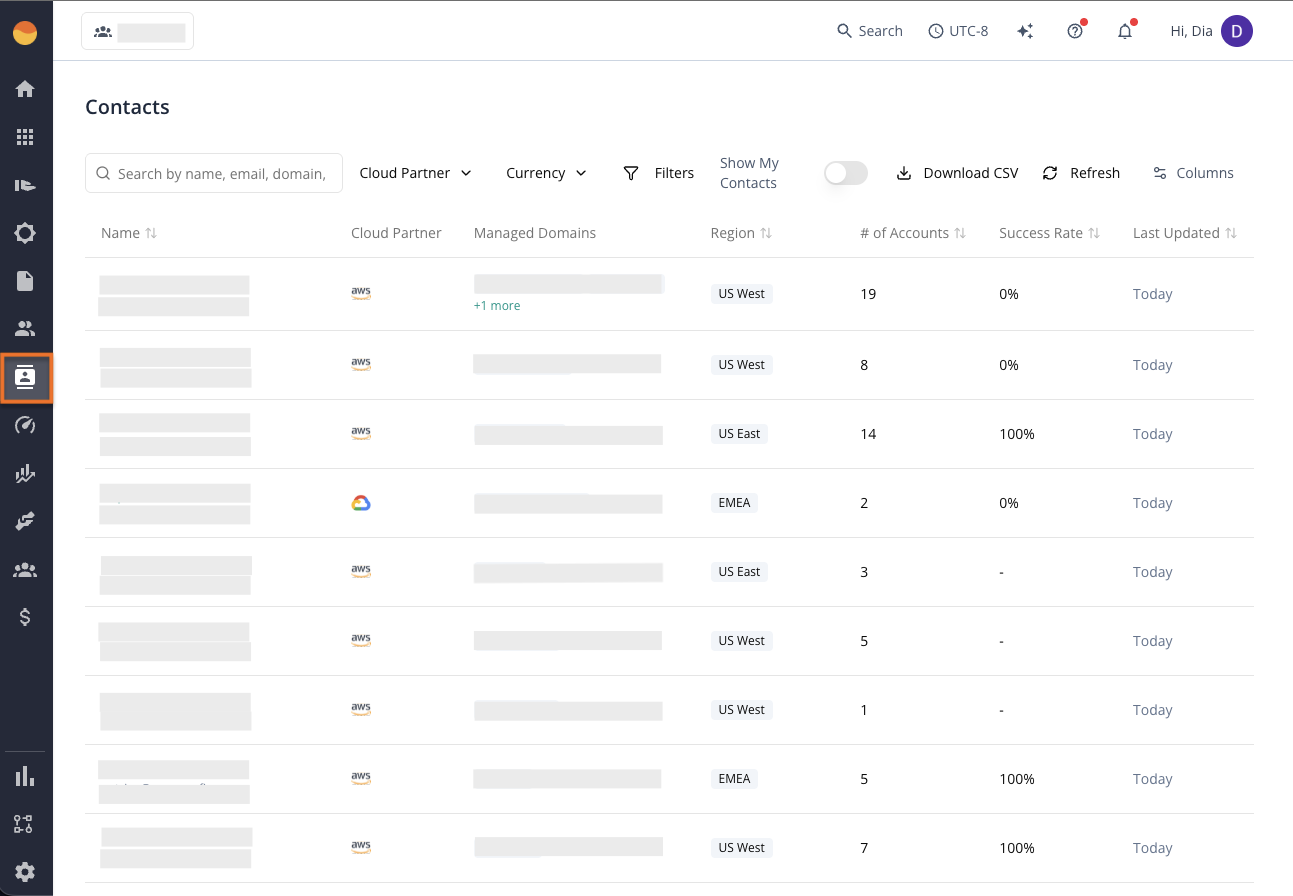
Contact
Use this to manage people, not companies. This is your directory of buyers, admins, and partner contacts tied to deals and accounts.
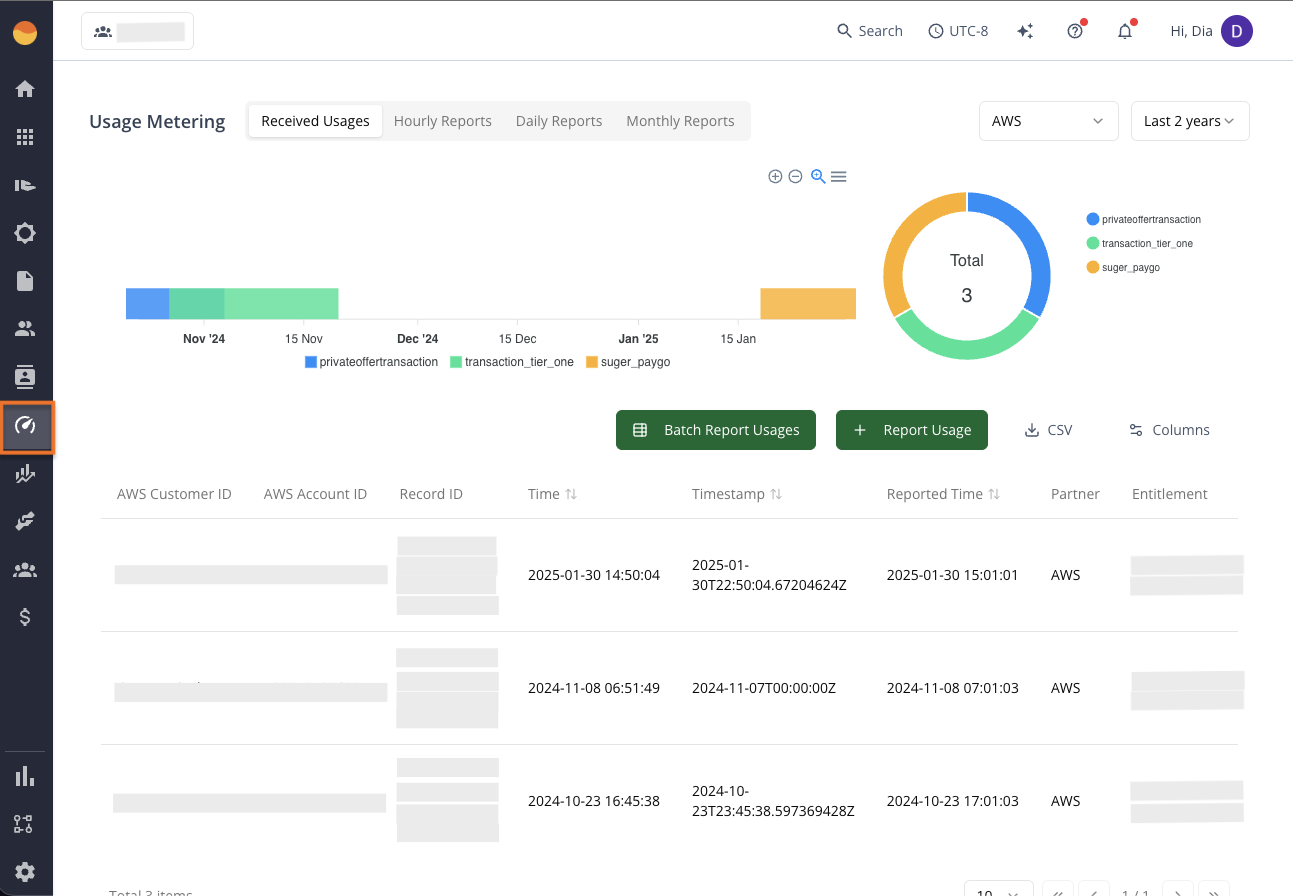
Usage Metering
Use this when billing depends on consumption. Report and review usage-based data that drives metered billing and downstream invoices.
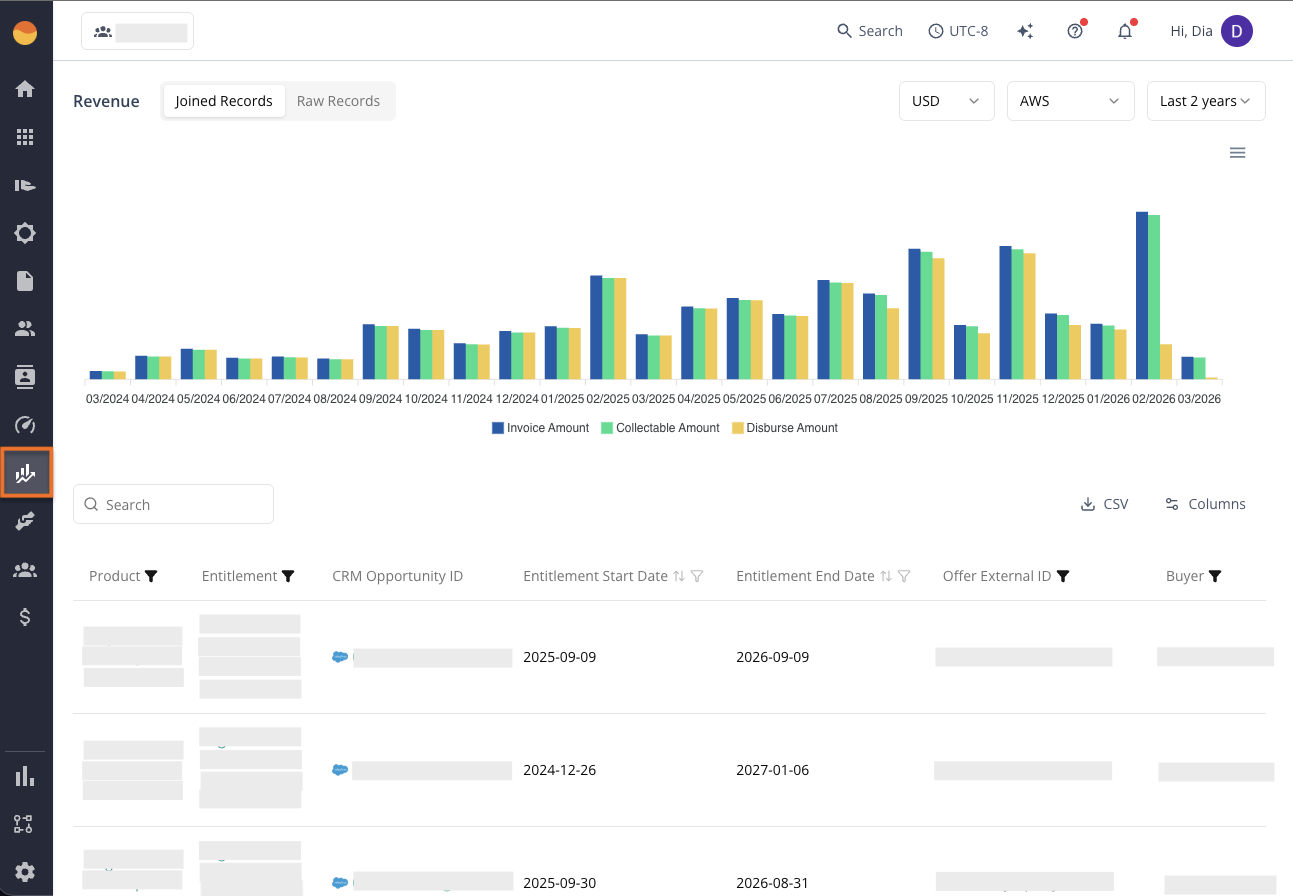
Revenue
Use this when finance needs clarity. This is your financial control center for invoices, disbursements, and collectible revenue across marketplaces.
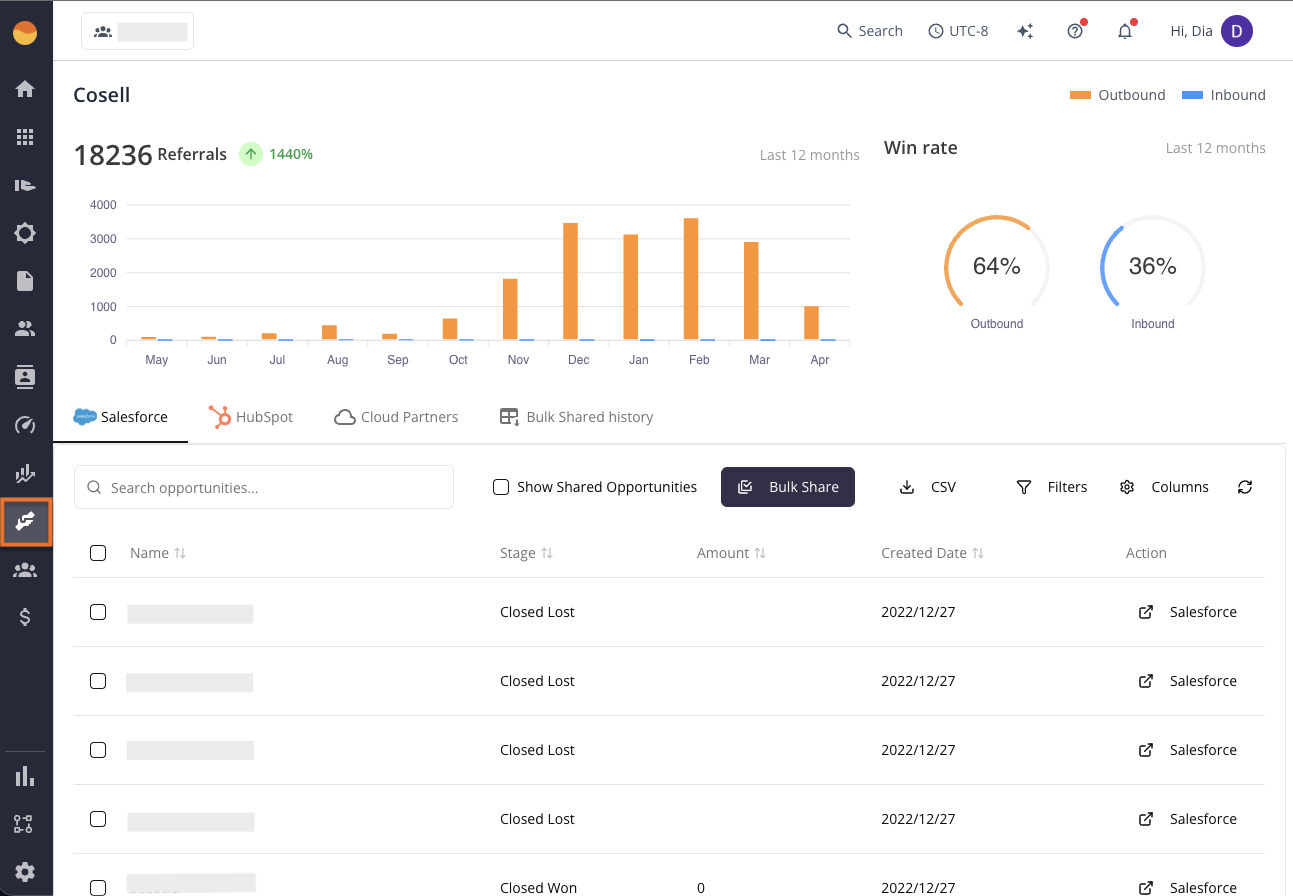
Co-Sell
Use this when working with cloud providers on pipeline acceleration. Track and manage CRM-linked opportunities shared with AWS, Azure, or GCP teams.
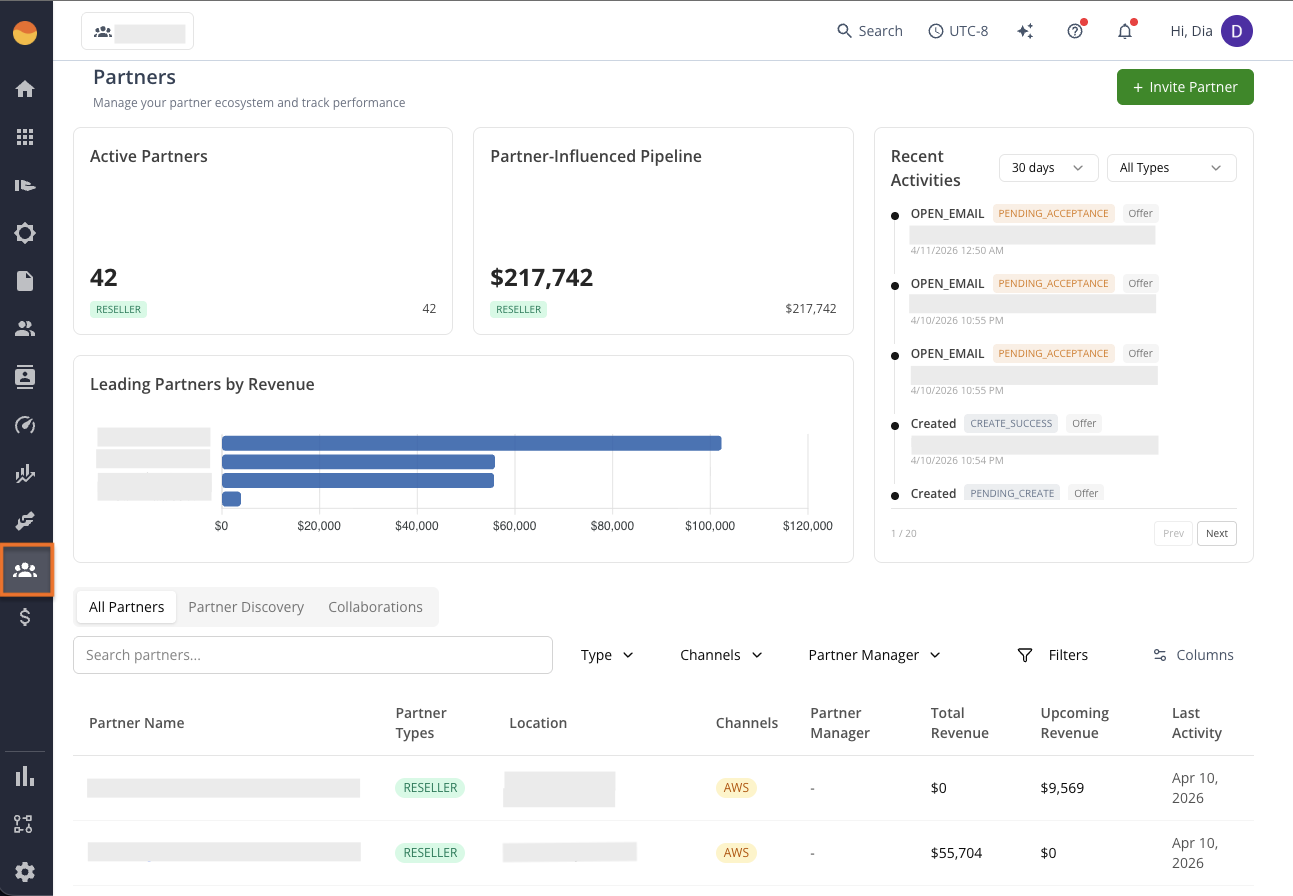
Partners
Use this to understand your ecosystem performance. This is where you track partner influence, pipeline contribution, and channel health.
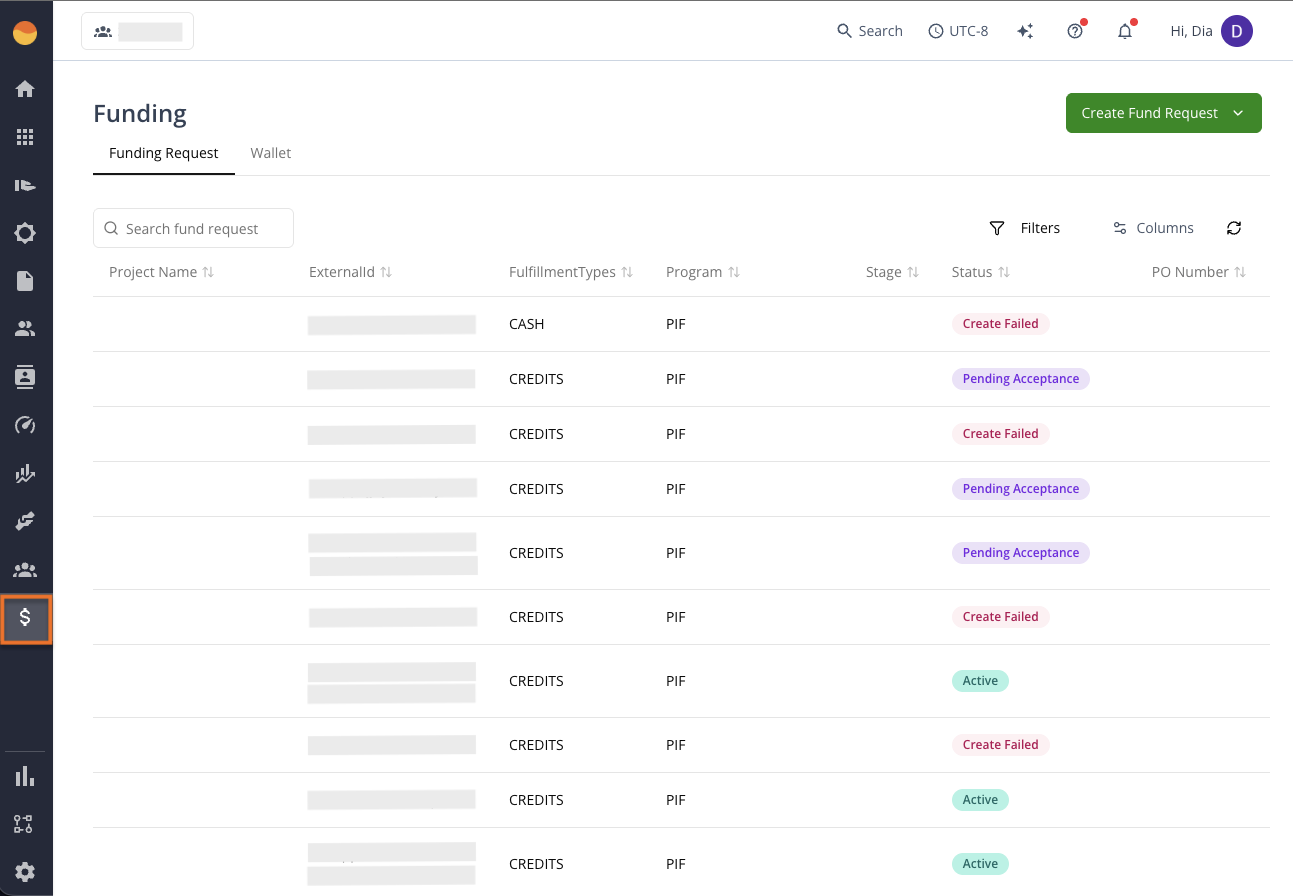
Funding
Use this when deals need acceleration support. Submit and track funding requests for AWS funding programs that help move deals forward.
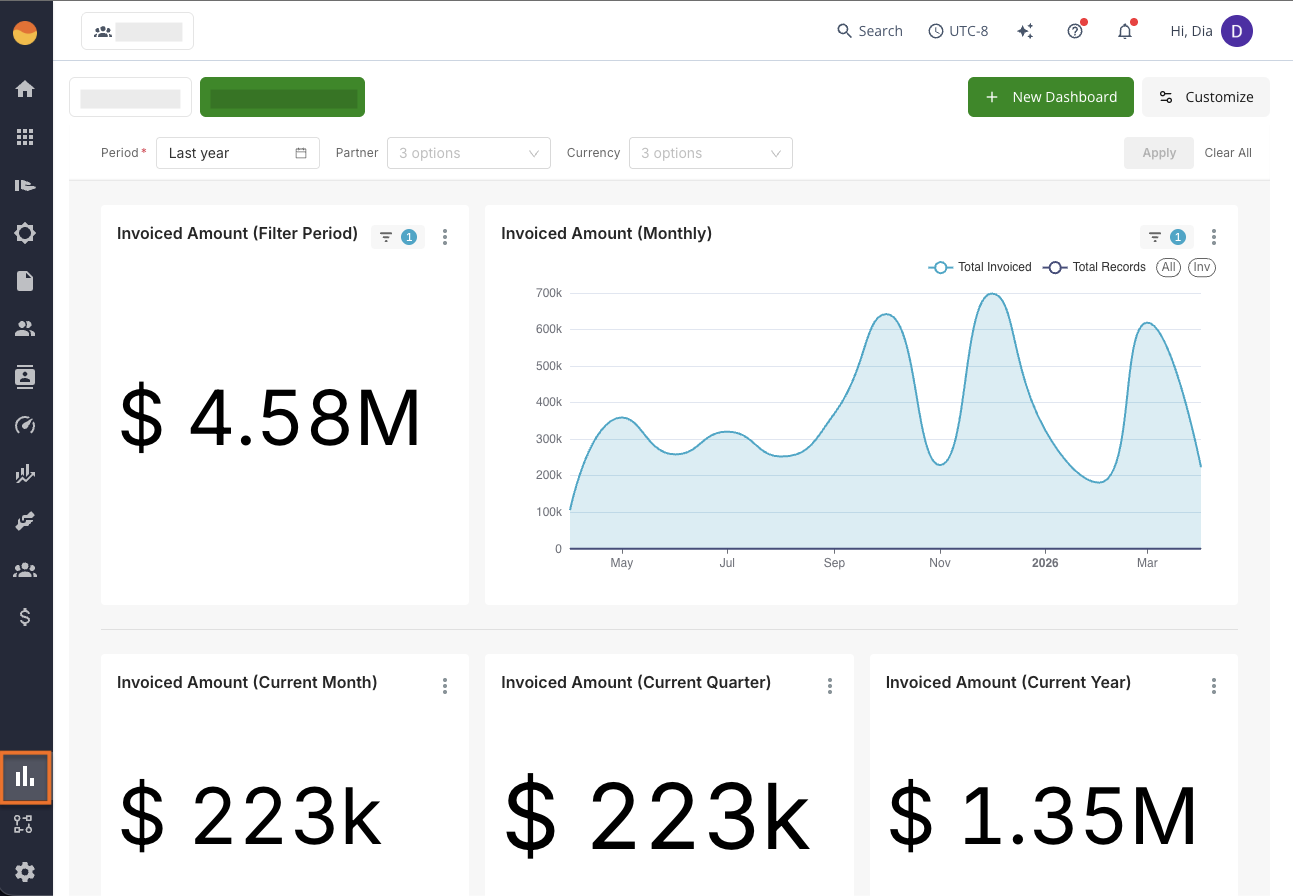
Analytics
Use this when you need answers, not raw data. Build dashboards to understand performance across revenue, deals, usage, and partners.
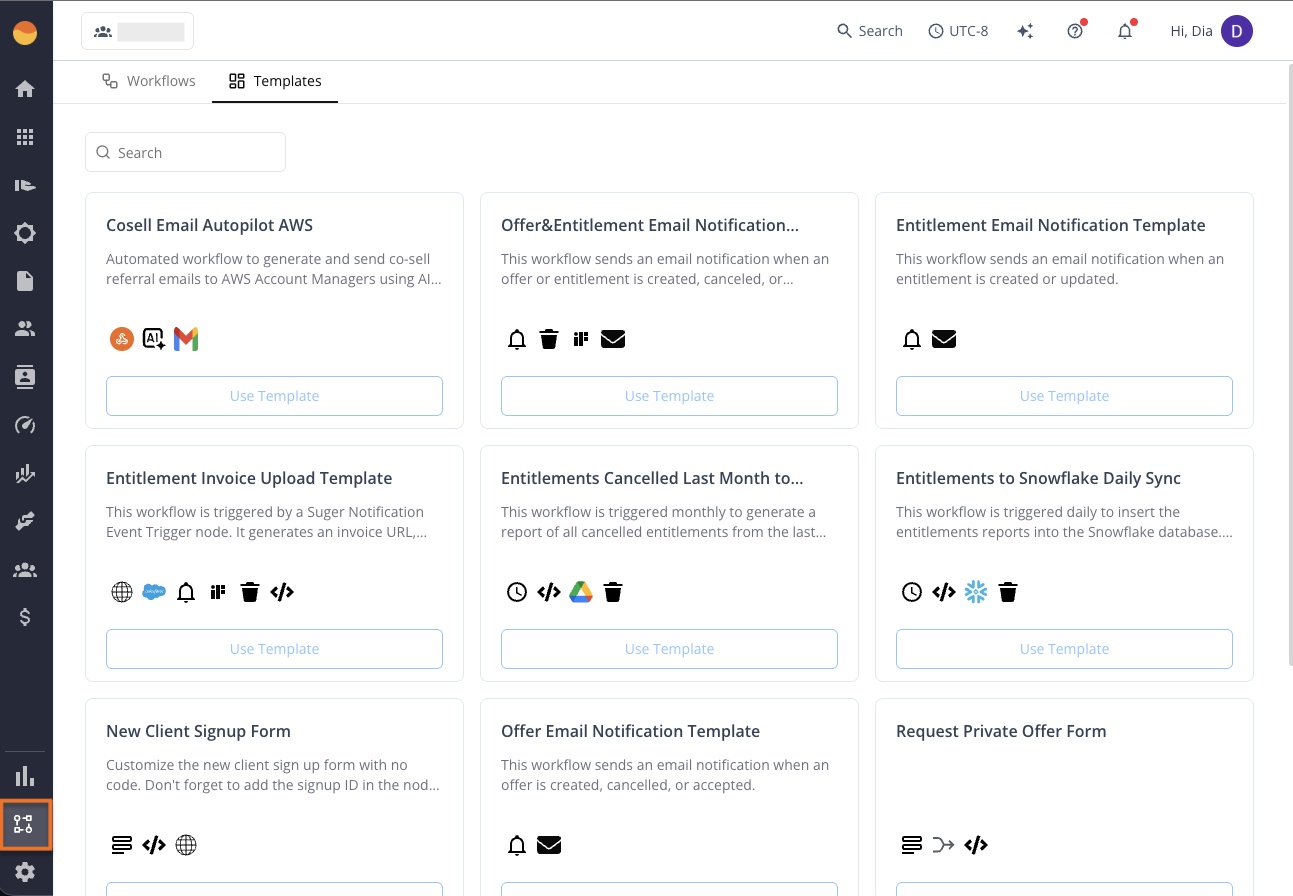
Workflows
Use this when something repeats. Automate operational tasks like syncing data, updating records, or triggering external systems.
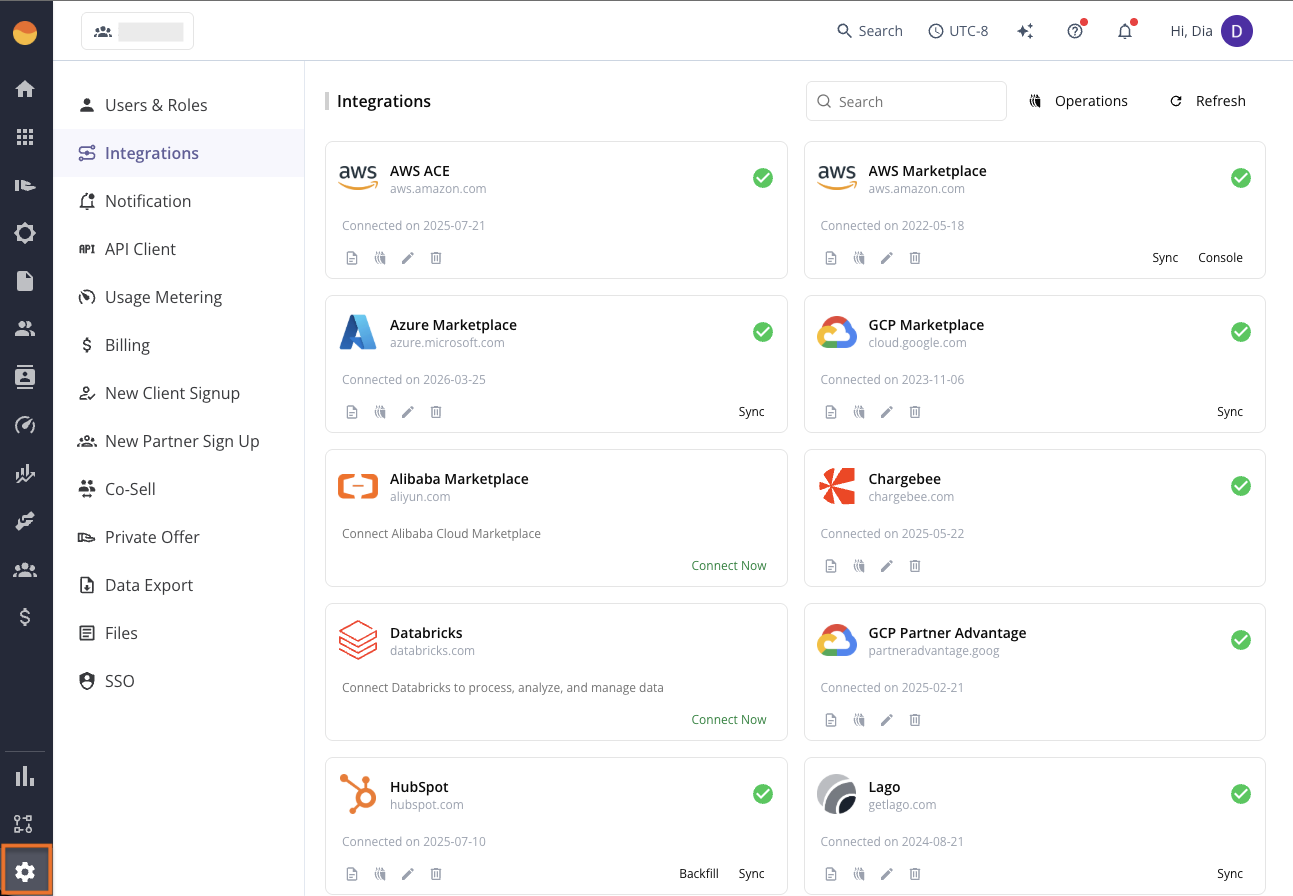
Settings
Use this when you need control over the platform. Manage users, roles, integrations, and system configuration.
Top Bar Tools
While the left-hand navigation menu handles your daily quote-to-cash tasks, the top bar gives you quick access to tools that help you work faster and get support.
Organization Selector
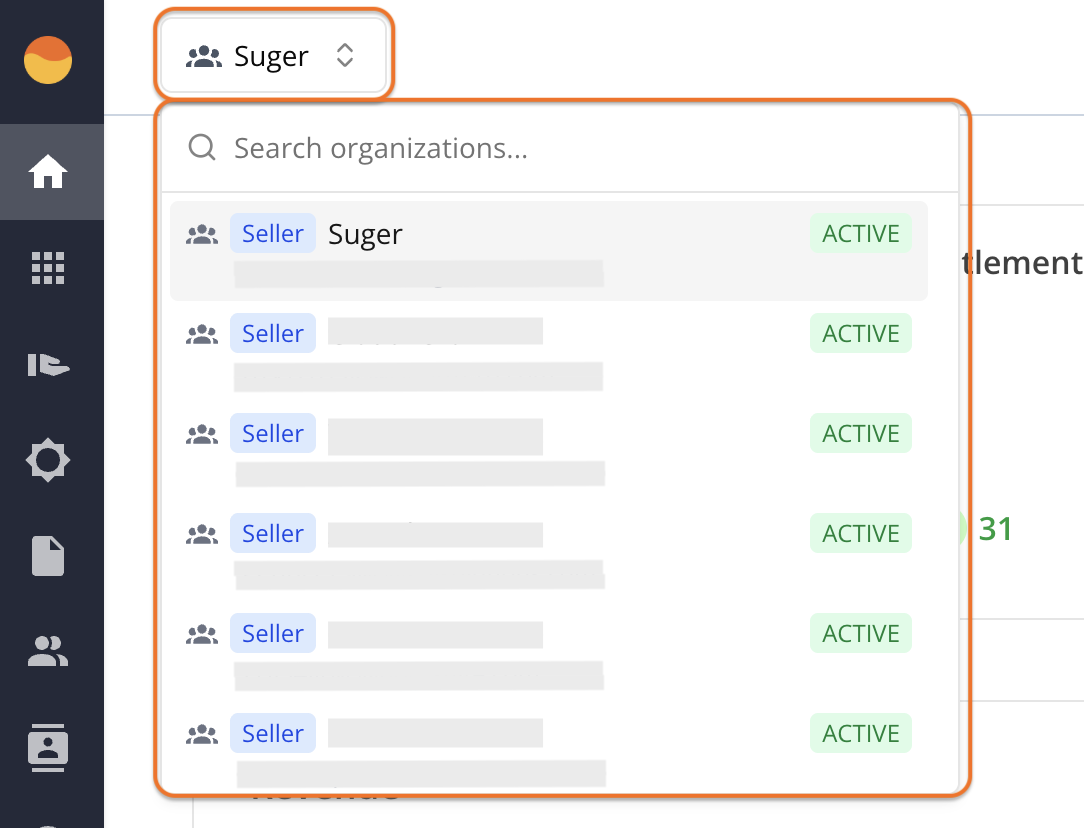
The Organization selector in the top bar shows the workspace you’re currently using. If you have access to multiple organizations, you can use it to switch between them.
In Suger, all cloud marketplace resources, user roles, and integrations are managed within an organization. Every user must belong to at least one organization to use the platform.
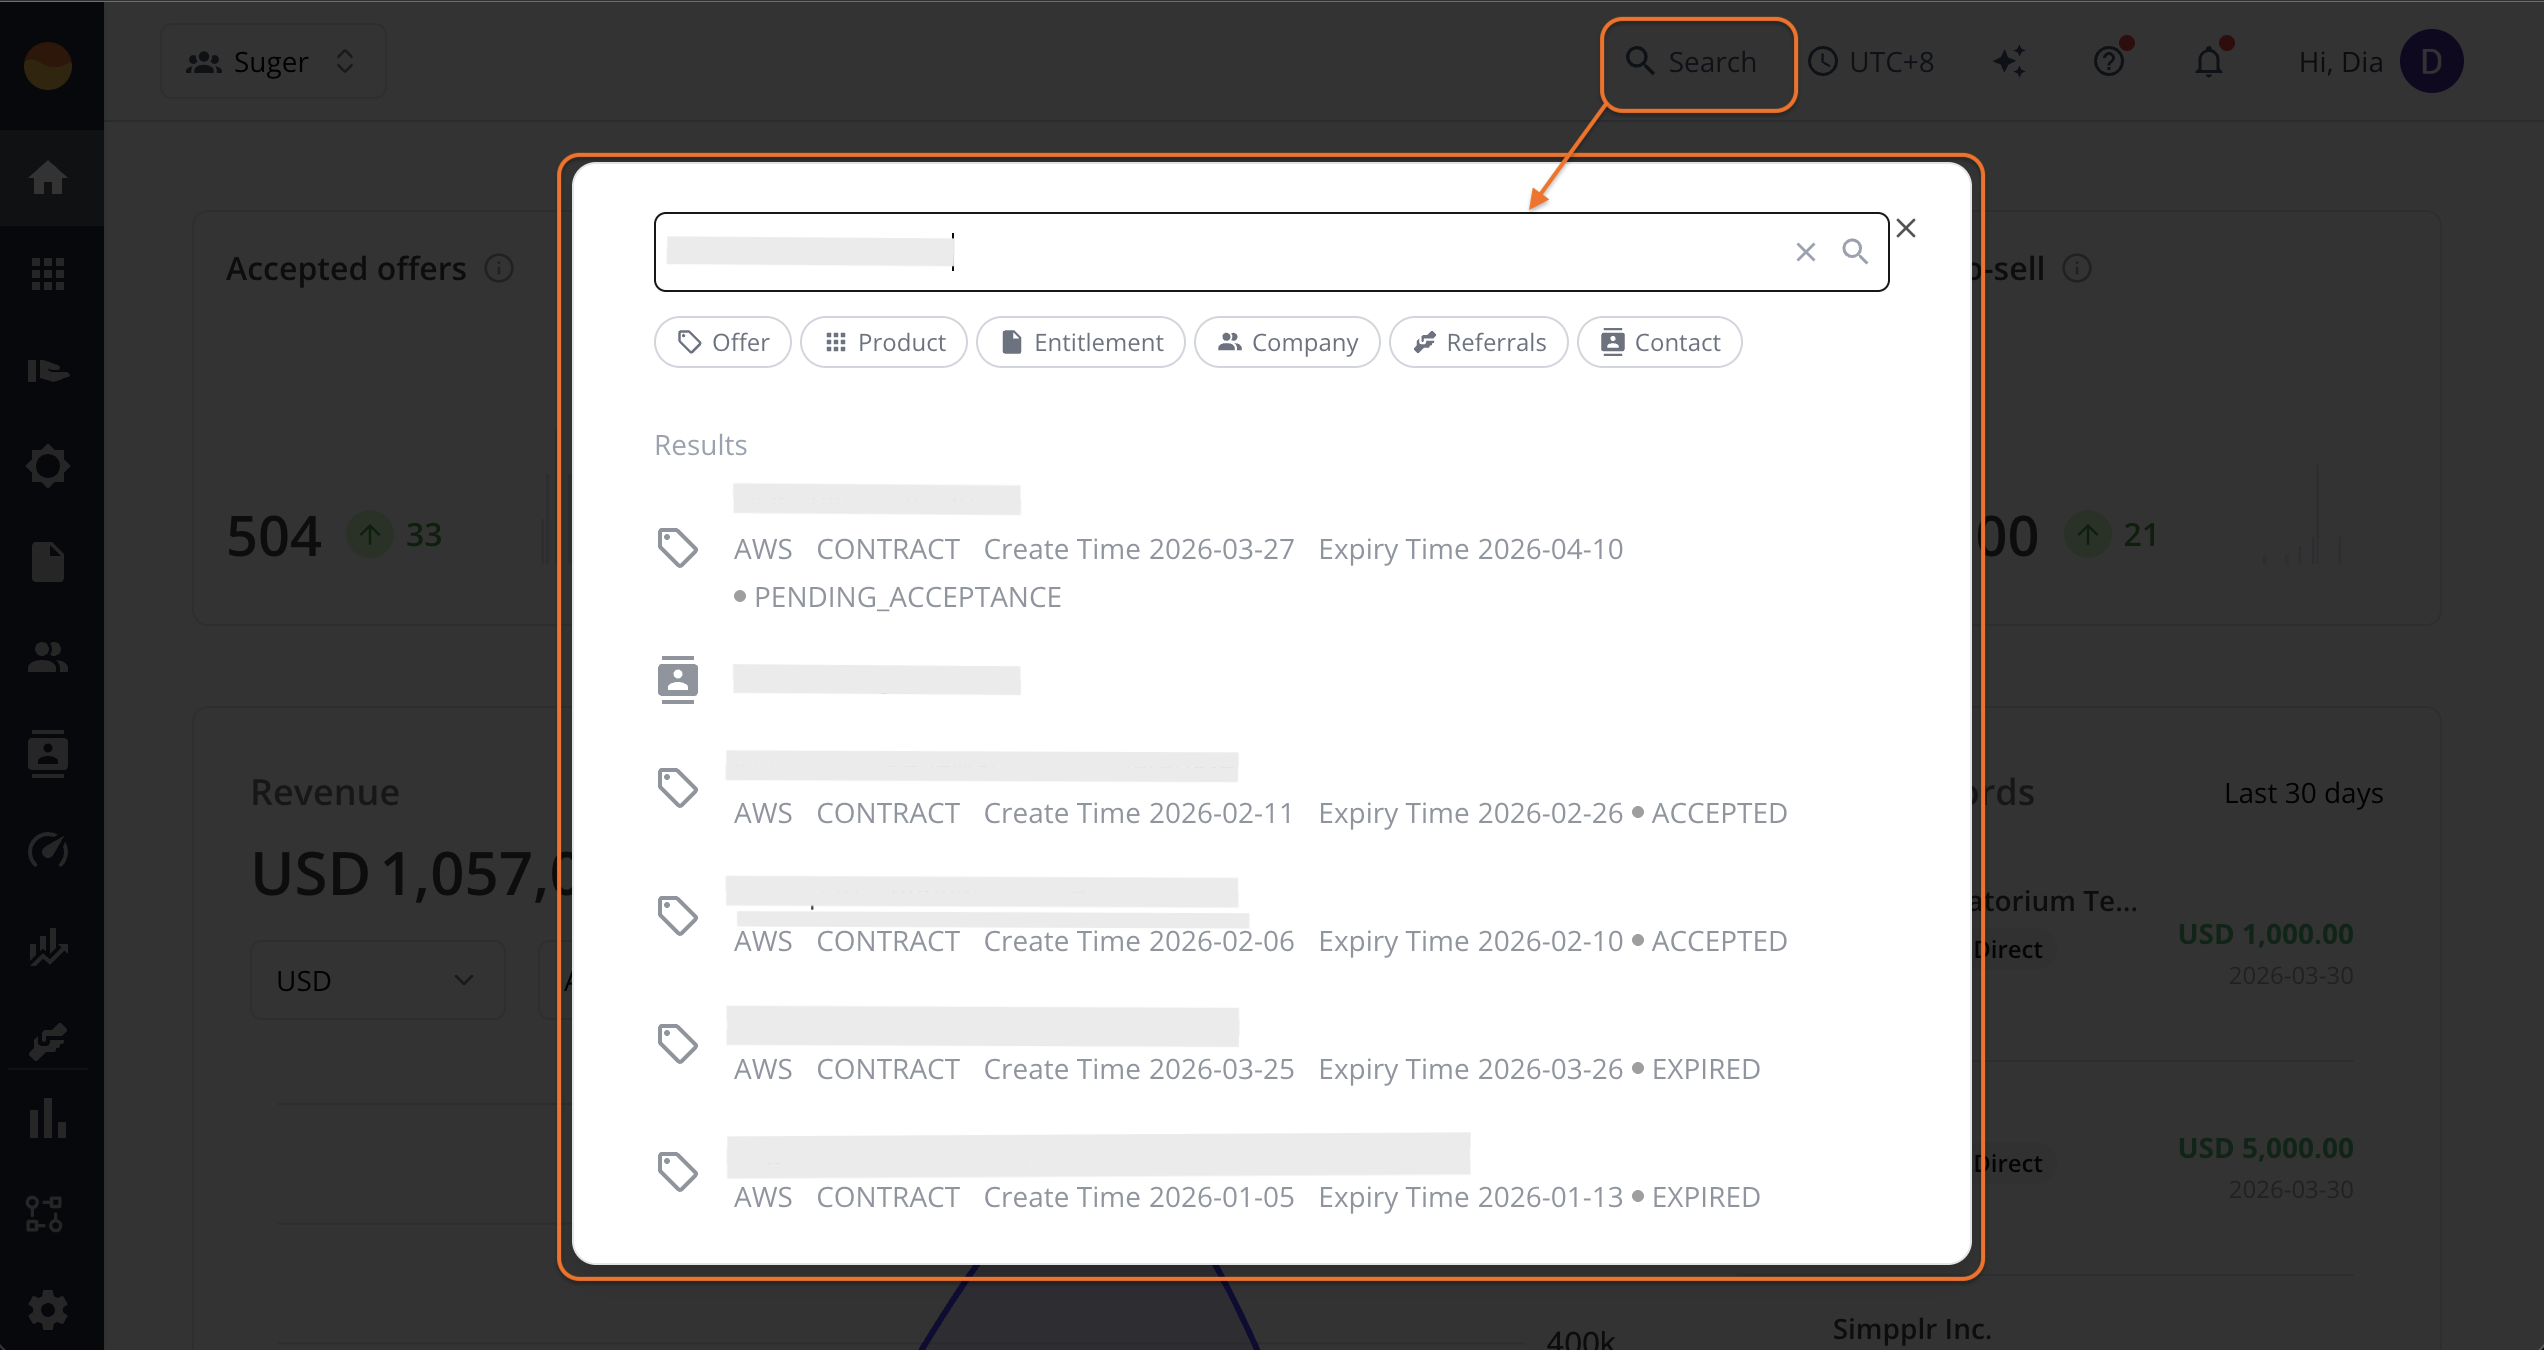
Global Search
Use Global search in the top bar to find your cloud marketplace and CRM records without leaving your current task.
Timezone Selector
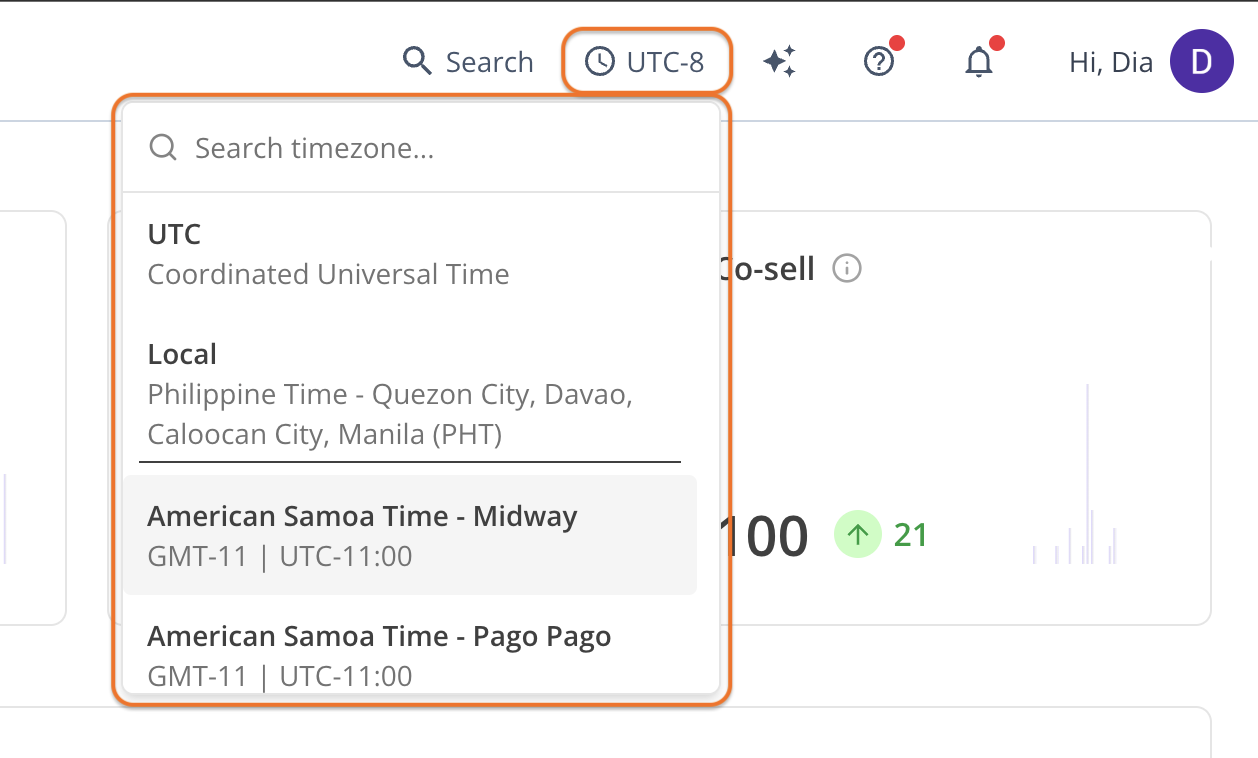
Cloud marketplaces universally report data in Coordinated Universal Time (UTC). While this creates a consistent global record, it can confuse sales and finance teams trying to see exactly when a private offer expires or when an invoice was issued.
The Timezone selector solves this by localizing timestamps directly in your workspace.
AI Chatbot
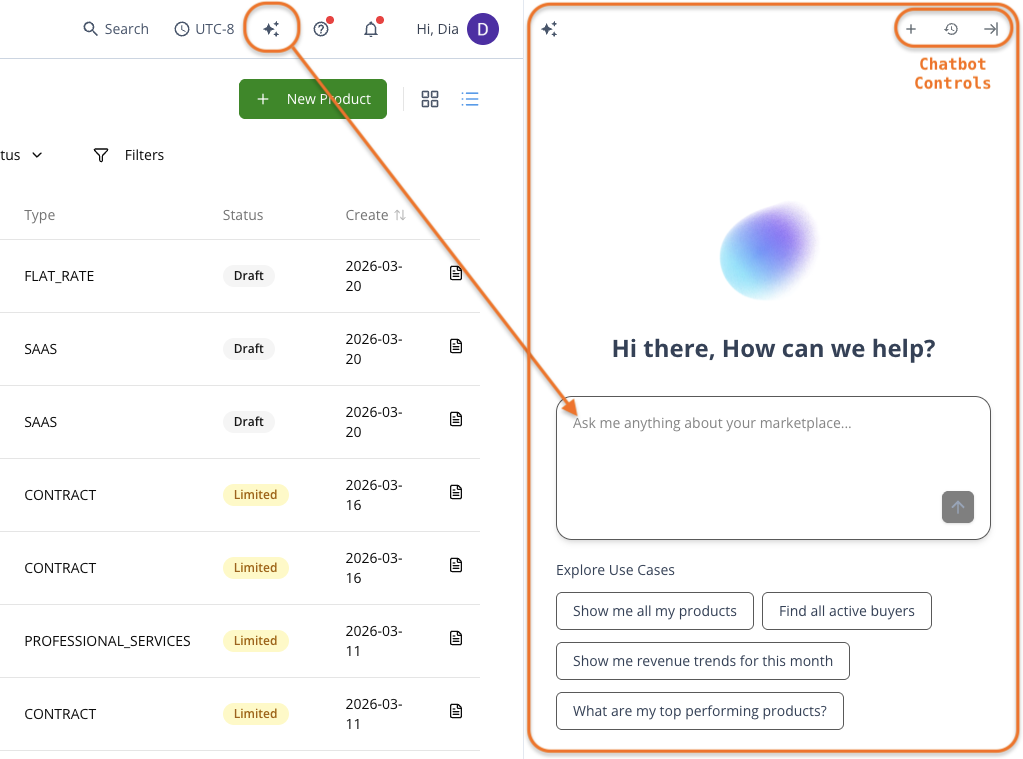
The AI chatbot is your built-in assistant, always available in the top bar. It gives immediate answers to your platform questions, explains complex marketplace concepts, and helps you navigate Suger without leaving your current workspace.
To use it, click the AI chatbot icon in the top bar, and a side panel opens directly over your screen. Here’s a breakdown of the chatbot panel and its controls:
- New chat (+): Start a fresh conversation. Use this when switching to a completely new topic or workflow so the AI doesn’t mix your questions with previous sessions.
- Chat history (clock icon): View past conversations. You can pick up right where you left off, or use the vertical three-dot menu next to any session to rename or delete it for better organization.
- Close panel (arrow icon): Hide the overlay and return to your full-screen workspace. Your current conversation is automatically saved in the chat history.
Support
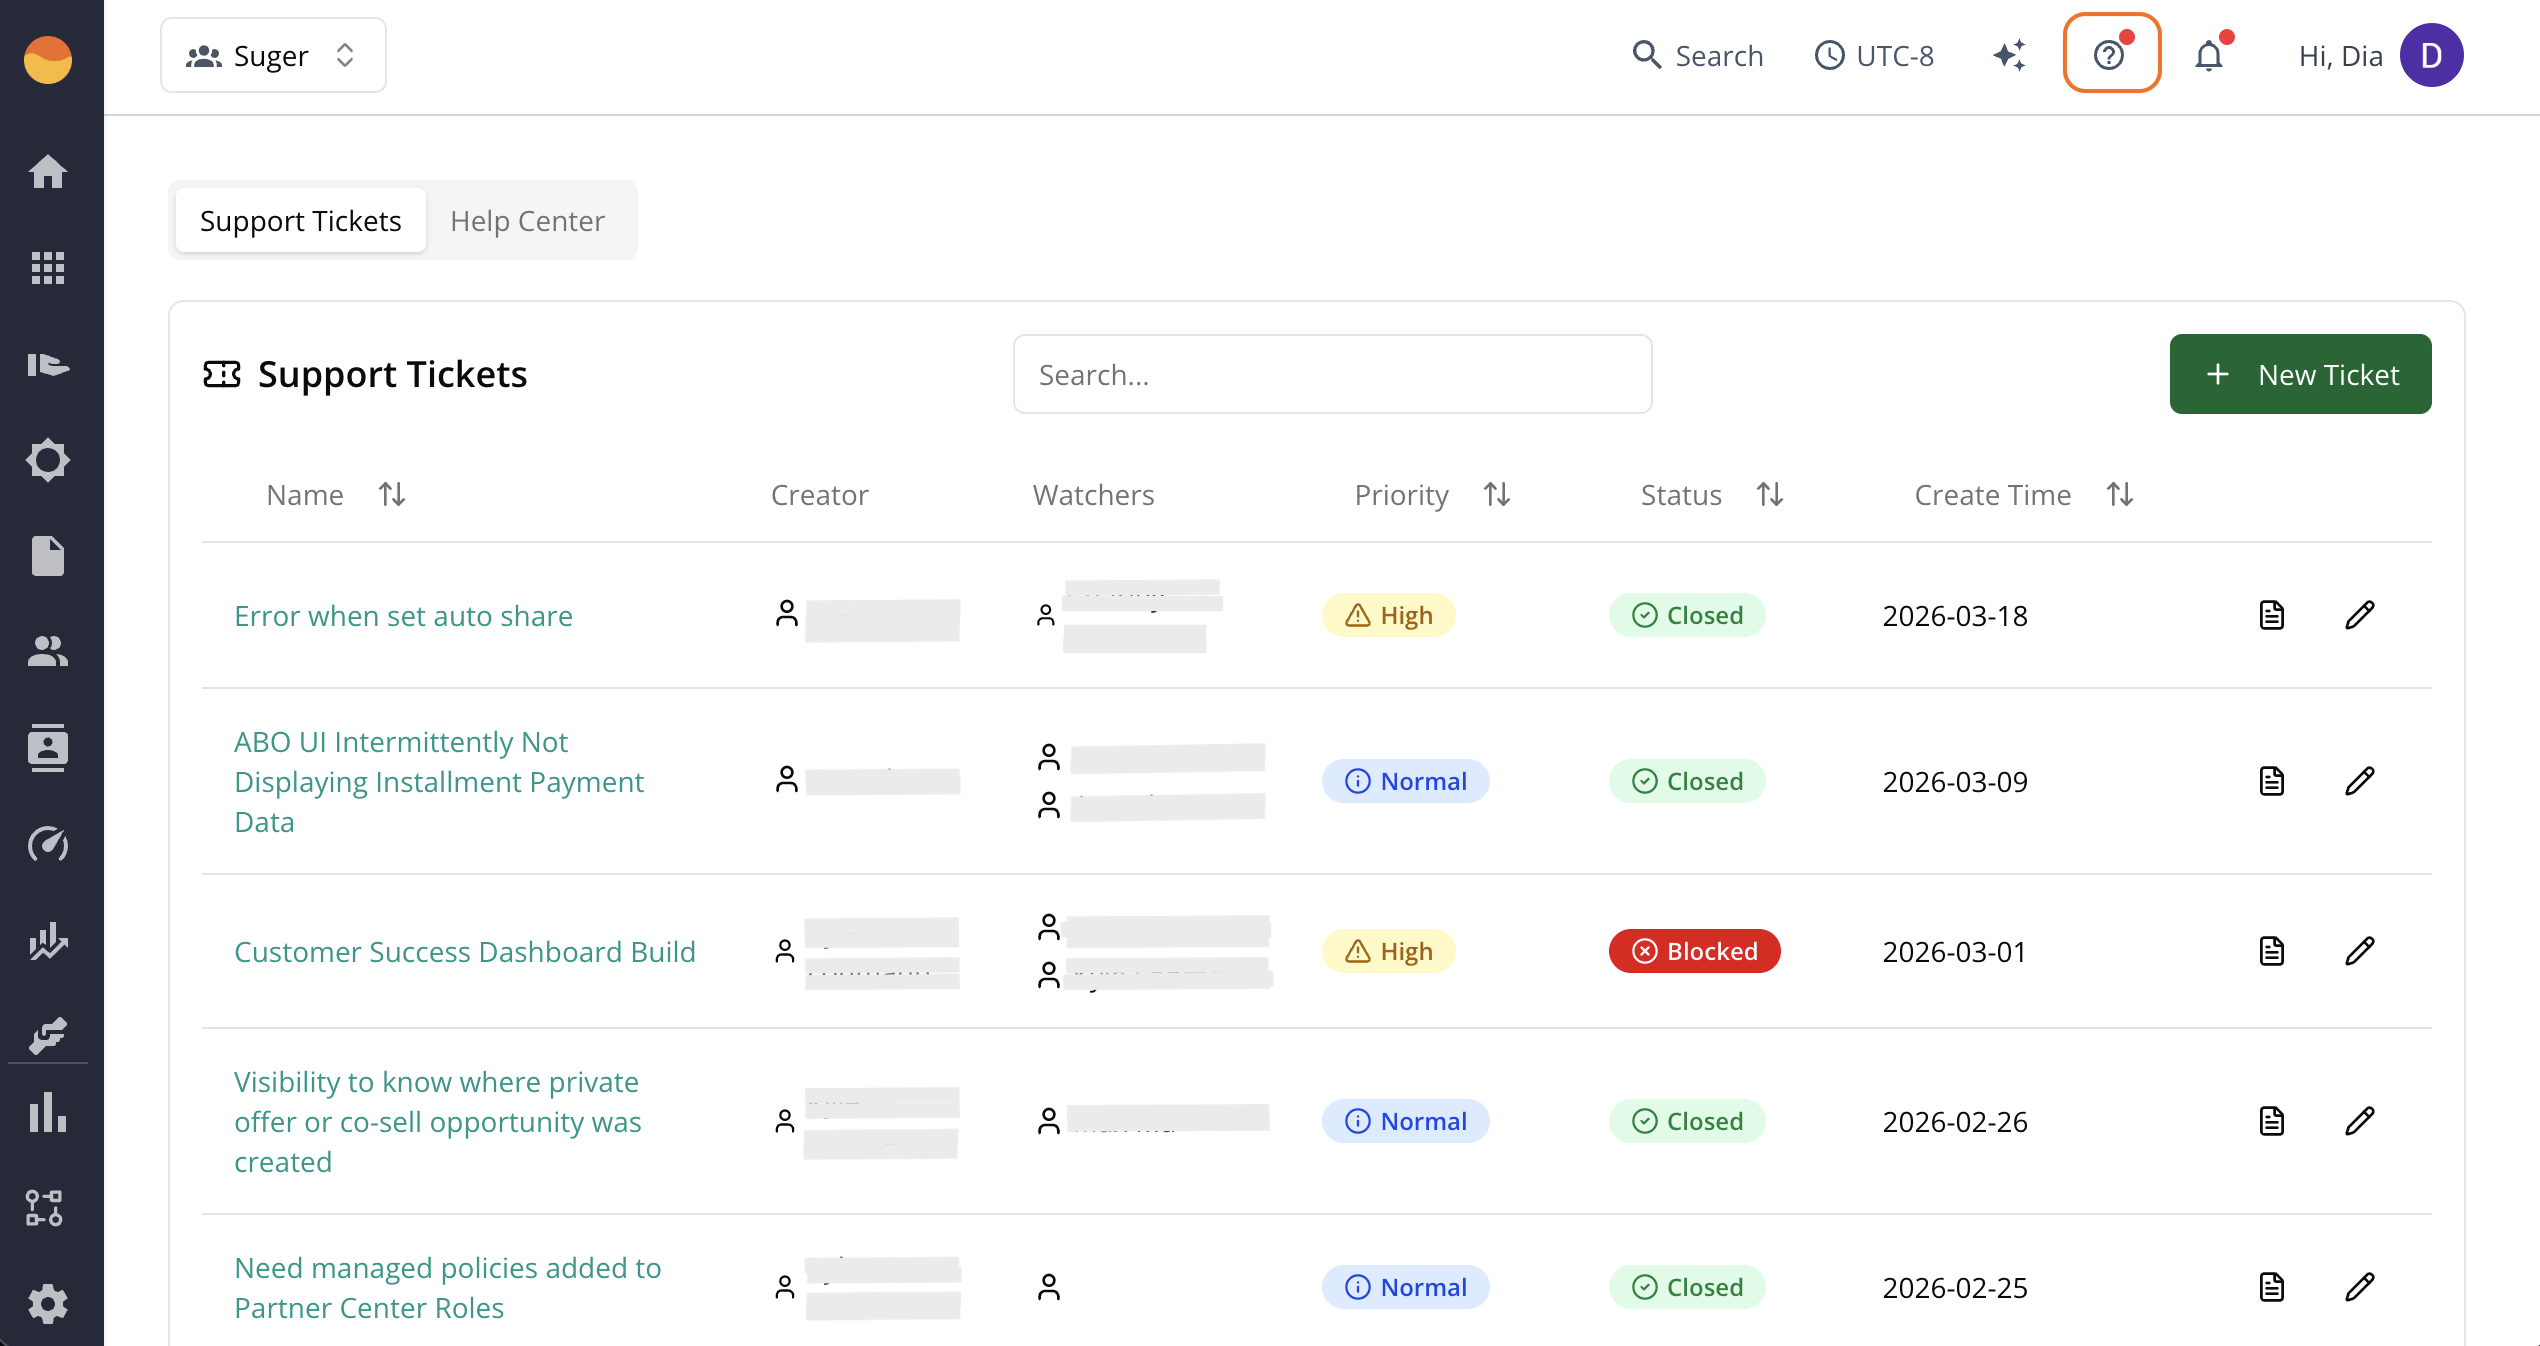
The Support tool in the top bar is your direct, in-product portal to communicate with the Suger team. Use this when something breaks or needs tracking.
Click the (?) icon to navigate to the Support page. Here you can create new tickets and track existing ones. These tickets are updated automatically by engineering and product teams.
Notifications
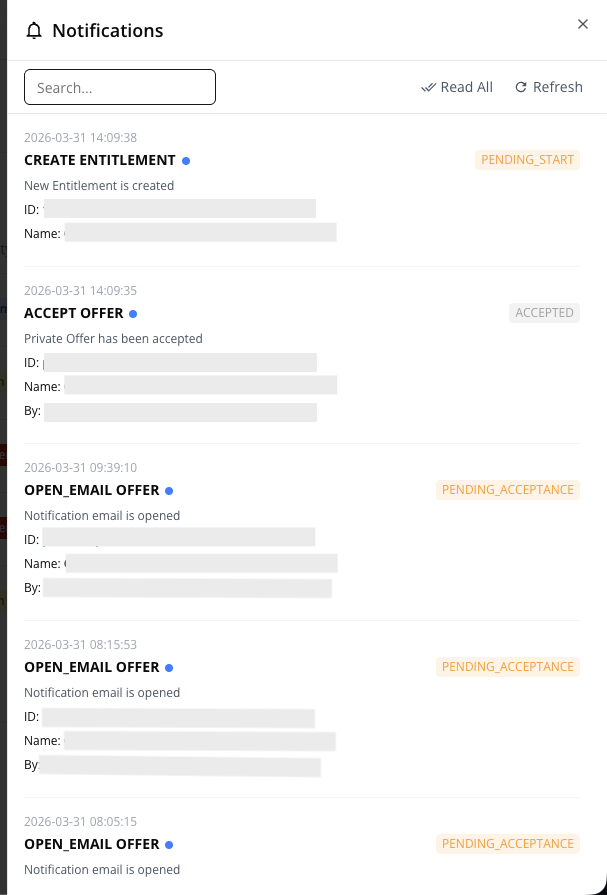
The Notifications tool in the top bar is your real-time alert hub for critical cloud marketplace events. It gives instant visibility into offer acceptances, entitlement changes, and billing milestones, so your team never misses a key update in the quote-to-cash lifecycle.
Click the bell icon to open the Notifications panel, which slides out on the right side of your screen. Events are displayed in chronological order, with the newest at the top, giving you an instant view of everything happening across your organization.
- Search and filter: Use the search bar to quickly find updates by Entity ID, Event Type (like
CREATEorACCEPT), or Status (likeEXPIREDorACTIVE). - Org-wide feed: Everyone in the same Suger Organization sees the same activity feed, ensuring your Sales, Alliances, and Finance teams share a single source of truth.
Profile
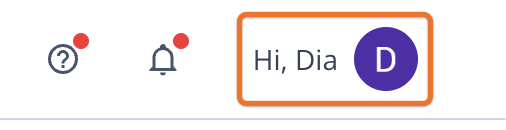
The Profile menu shows your name and email so you always know which account is logged in. You can log out securely from here.
All other account settings, like roles, passwords, or API keys, are managed in the main Settings menu.