
Products
Browse, create, and manage all of your cloud marketplace listings in one catalog.
Overview
The Products page is your catalog of every marketplace listing in your workspace. From here you can browse products, create new listings, track their status through their lifecycle, and drill into any product to see its offers, entitlements, and revenue records.
Browse your product catalog
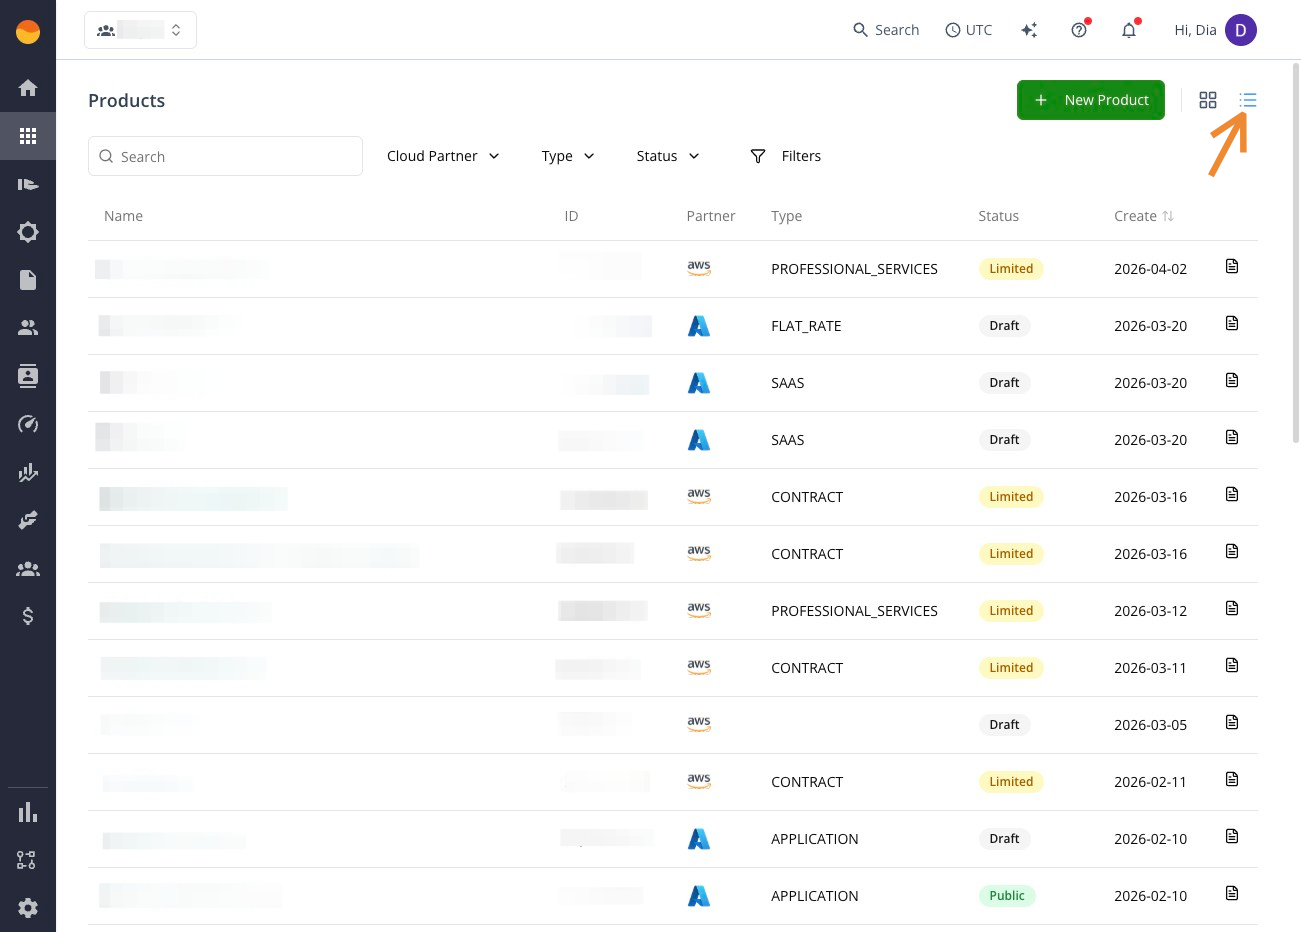
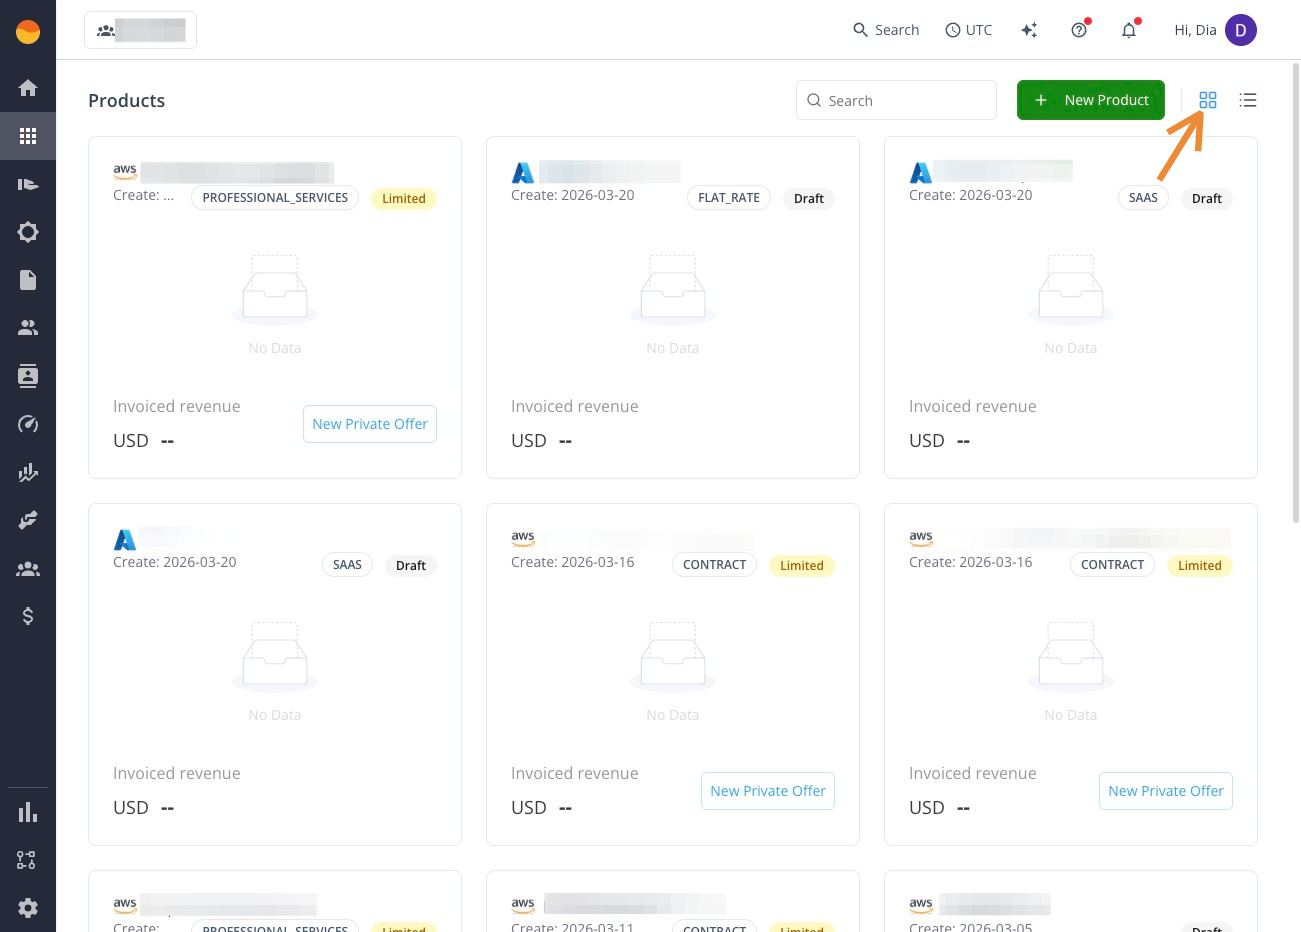
Your catalog displays all products in your workspace. Switch between list view and tile view depending on how you prefer to browse.
List view
Shows products in a table format with detailed columns (name, ID, partner, type, status, and more).
Tile view
Shows products as cards for a more visual, high-level overview.
Product tags
A product tag names the product line a product belongs to. When your organization routes contacts by product, each product’s tag shows in two places:
- A Tag column in list view.
- Beside the product’s status at the top of its detail page.
Each product carries one tag. Tags are read-only here, and you can’t filter the list by them. With contact routing off, the Tag column is hidden and product pages show no tag.
Products are tagged, and contact routing is switched on, under Settings › Private Offer › Product Tagging, which is marked BETA in the console. Contact routing files the contacts on a product’s offers under that product’s tag, which is how the Salesforce app groups an account’s Buyer Contacts — see Buyer Contacts.
Explore a product’s details
Click any product to open its detail page. Each tab covers a different part of the product’s lifecycle.
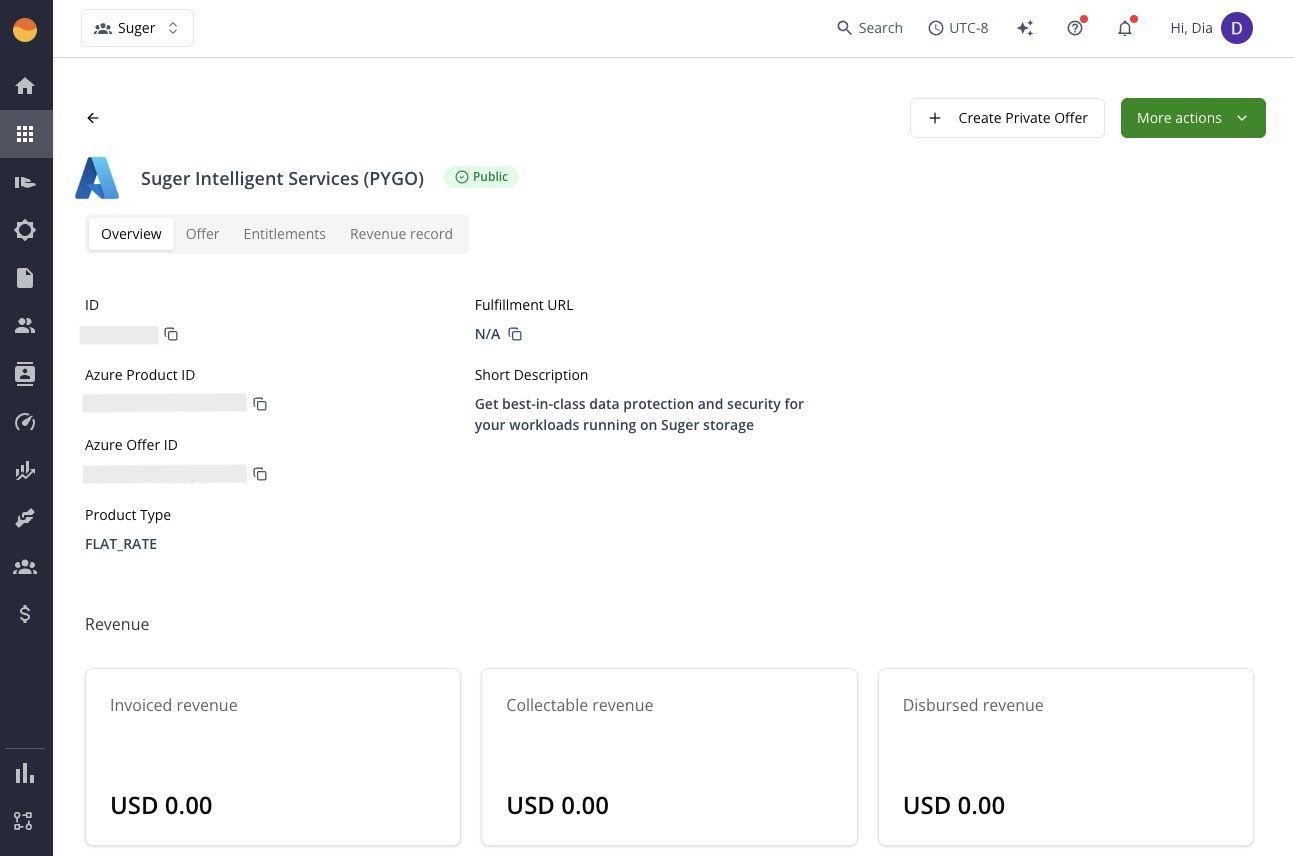
Overview
Key product information, configuration details, and a revenue summary at a glance. The information shown here may vary depending on the product type.
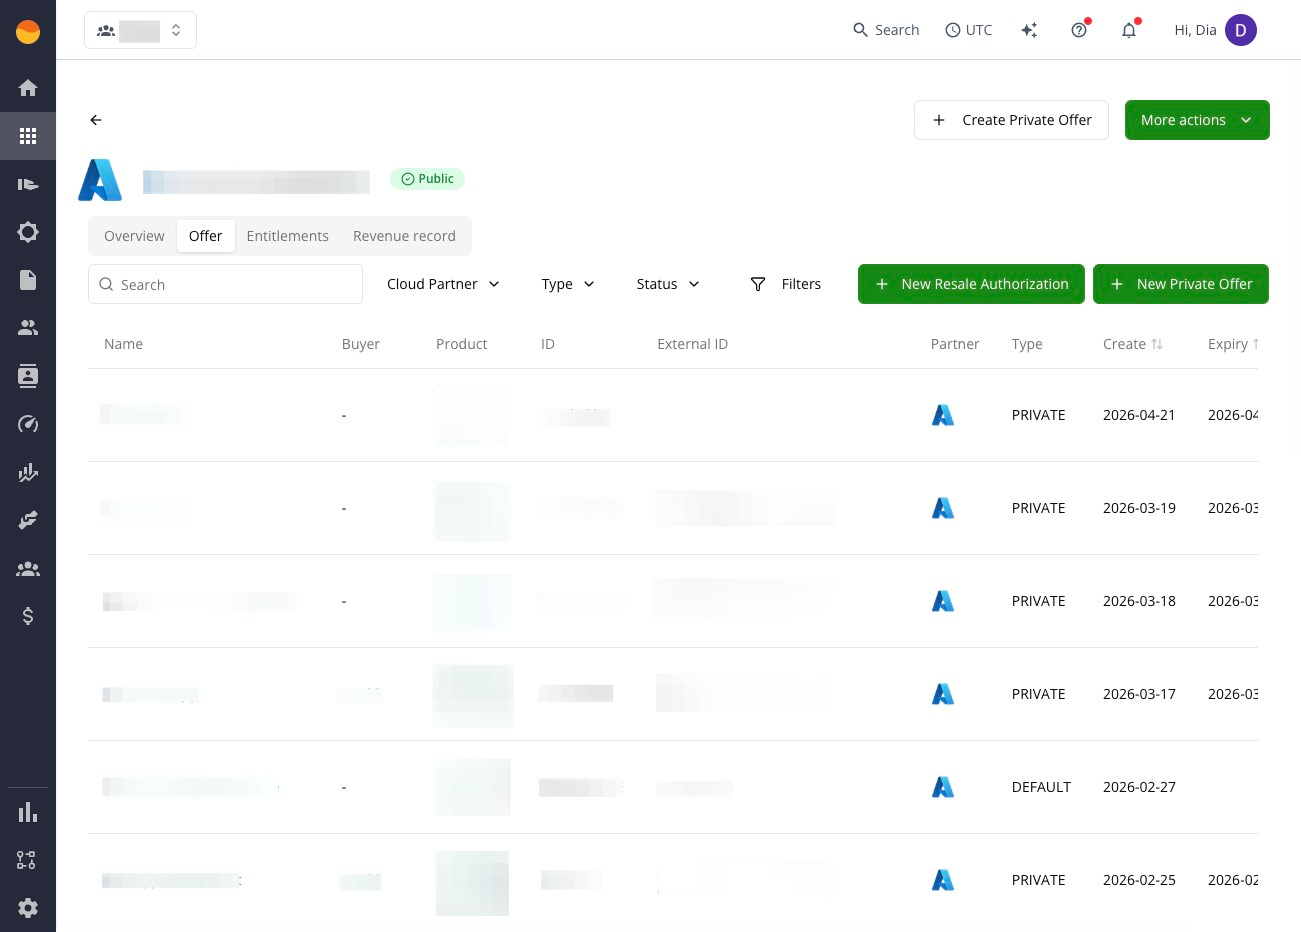
Offer
Private offers and resale authorizations tied to this product, including lifecycle status and buyer details.
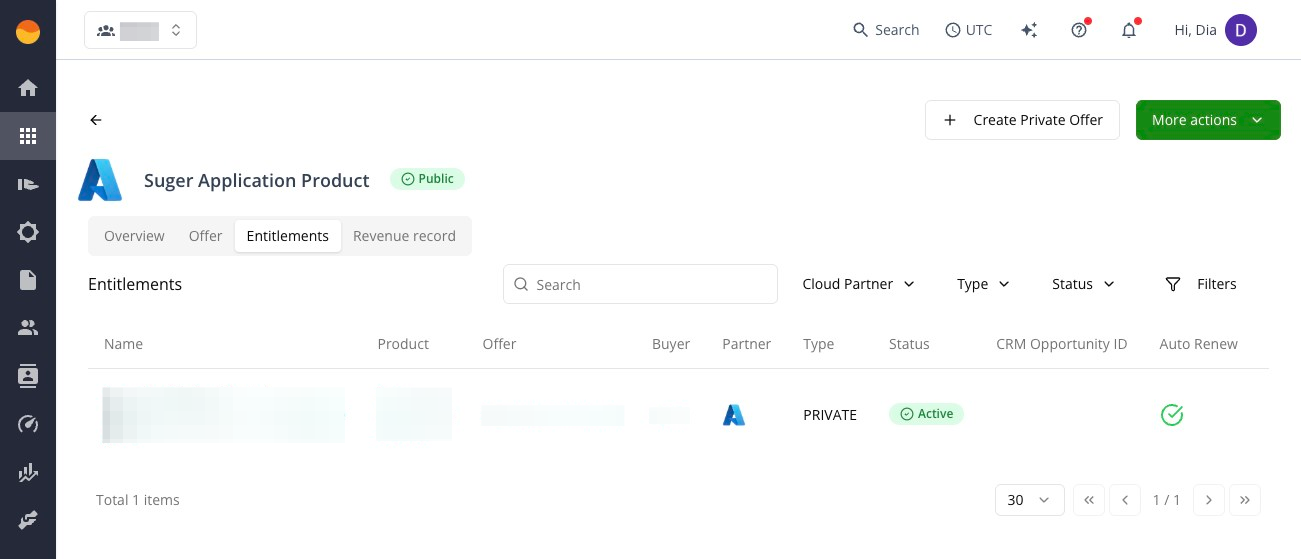
Entitlement
Customer access records, including active and past entitlements, billing, and invoice values.
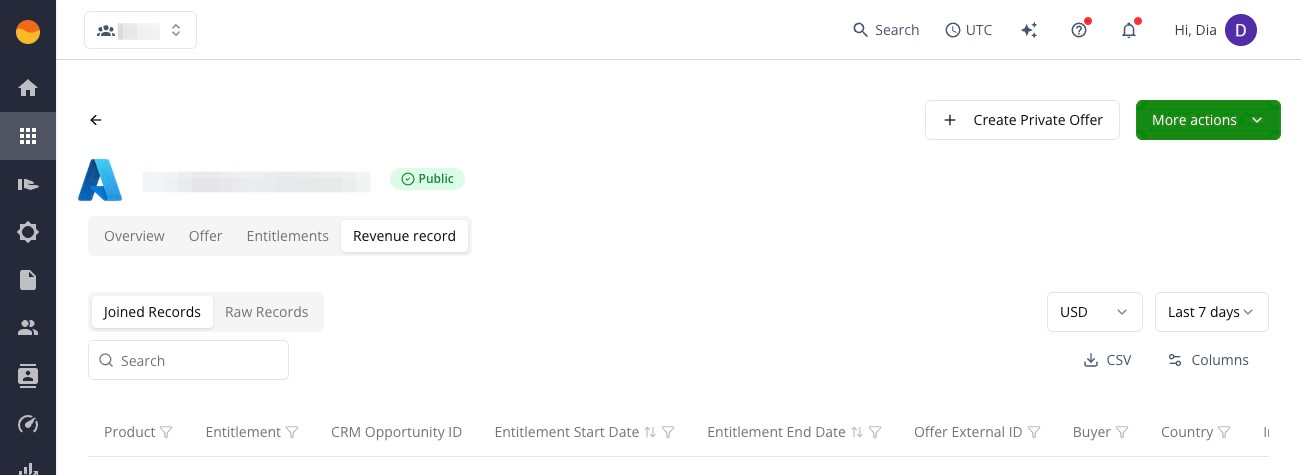
Revenue record
Detailed financial records including invoice amounts, fees, disbursement status, and refunds.
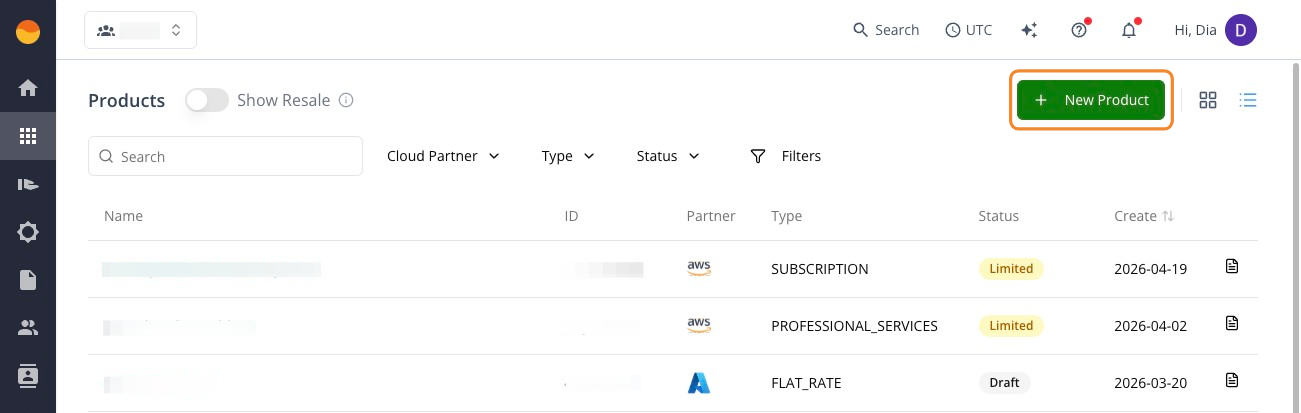
Create a new product
Click + New Product in the top-right corner to start a new marketplace listing. You’ll choose your cloud marketplace and product type, then the interface walks you through the rest of the setup.
Find and filter products
As your catalog grows, use search and filters to quickly find what you need.

- Show Resale — toggle to include products you are authorized to resell alongside your own products.
- Search — find products by Name, ID, Partner, Type, and Status.
- Quick filters
- Cloud Partner — filter by marketplace.
- Type — filter by product type (for example, SaaS, Subscription, Contract).
- Status — filter by product status (Draft, Limited, Public, and so on).
To build more specific queries, click Filters (funnel icon):
- Click Add Filter to choose a field, condition, and value.
- Combine multiple conditions using AND.
- Click Search to apply your filters.
Track operations and history
Use Operations and History to understand what’s happening behind the scenes when you create or update a product.
Operations
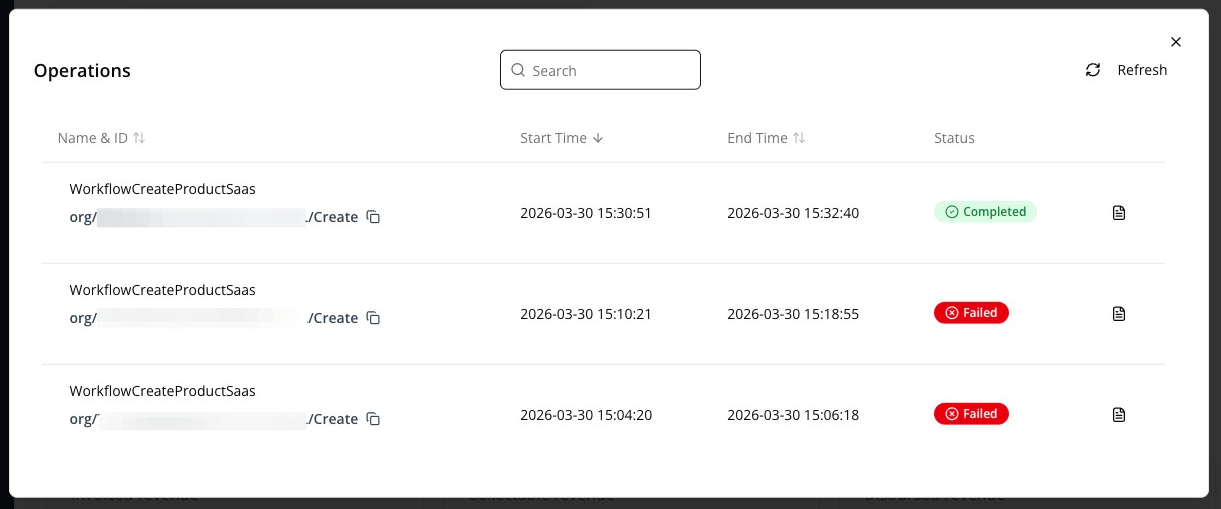
The Operations window shows the status of background tasks (such as publishing or updating a listing). Use it to check whether a change is still processing or if something failed.
- Open the product.
- Click More actions in the top-right corner, then Operations.
History
The Product History panel shows a timeline of changes made to the product, so you can see what was updated and when.
- Open the product.
- Click More actions in the top-right corner, then History.
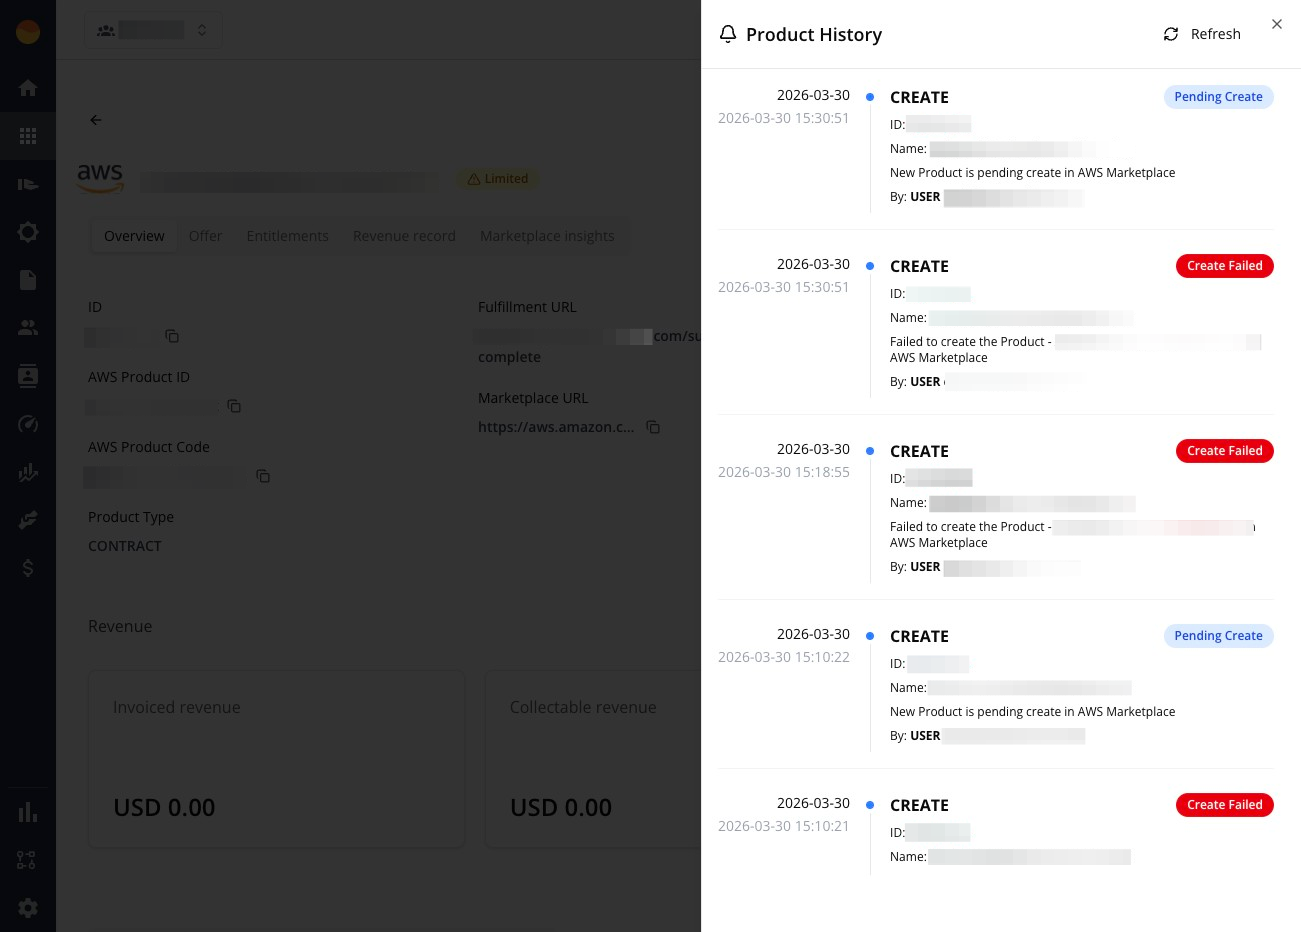
Entries are listed newest first. Each shows when it happened and what happened, followed — where Suger recorded them — by a By: line naming who made the change and a Source: line naming where it came from:
| Source | Where the change came from |
|---|---|
| User | A person signed in to Suger — in the Suger Console, or through an MCP client they authorized. |
| Salesforce | The Suger Salesforce app. |
| HubSpot | The Suger HubSpot app. |
| API client | A call to the Suger API. |
| Suger AI | Suger’s AI service. |
| Suger backend | Suger’s own background processing — scheduled jobs, cloud marketplace events, and automatic notifications. If such an entry also has a By: line, it names the person whose action Suger was carrying out. |
Entries recorded before Suger began tracking the source have no Source: line. The same lines appear in an offer’s history — see Review an offer’s history.
For an AWS product, a failed create or update entry also shows a Why AWS rejected this panel with AWS’s error code and message, plus the latest attempts (up to three) with their change set IDs.
Product statuses
Each product displays a status that tells you where it is in its lifecycle and whether any action is needed on your end.
In progress states
| Status | Definition | Next step |
|---|---|---|
Draft | Listing is being prepared and has not been submitted or published yet. | Complete required fields, validate pricing/content, and submit when ready. |
Pending Create | Suger has started creating the listing in the marketplace, but creation is not finished yet. | Wait briefly and refresh. If it remains stuck, check activity, error details, and integration health. |
Pending | Listing has been submitted and is waiting for marketplace review or processing. | Wait for provider processing, monitor for feedback, and respond if any required changes come back. |
Pending Update | The listing already exists, and a submitted change is still being processed. | Wait and refresh. An AWS listing returns to its visibility status (Limited or Public) once AWS accepts the change, or moves to Update Failed with AWS’s reason in the Update Product Failed banner. If it stays stuck too long, review the last change and check for sync or integration issues. |
Published visibility states
| Status | Definition | Next step |
|---|---|---|
Public | Listing is live and publicly available/discoverable in the marketplace. | No action needed unless you want to update content, pricing, or visibility. |
Limited | Listing is published with limited visibility or access, often for testing, preview, or restricted audiences. Private offers can’t be sent while the listing is in Limited status. | Confirm whether limited visibility is intentional. If so, finish validation/testing. If not, review visibility settings and publishing requirements. |
Unlisted | Listing exists but isn’t publicly discoverable/searchable in the marketplace. | If intentional, no action is needed. If not, review marketplace visibility and publishing settings to confirm why it’s not public. |
Restricted | Listing is not publicly available to new buyers, usually due to provider restrictions or a seller-controlled visibility change. Private offers can’t be sent while the listing is in Restricted status. | Existing users can continue to use the product. Direct new prospects to an updated listing. |
Action-needed states
| Status | Definition | Next step |
|---|---|---|
Unknown | Suger can’t confidently determine the listing’s current marketplace state. | Refresh, compare with the marketplace console, and check integration/sync health if the status persists. |
Create Failed | Suger tried to create the listing, but the marketplace rejected it. | Open the listing and review the error details, fix the first blocking issue, and retry creation. |
Update Failed | The listing already exists, but a later change was rejected or did not sync successfully. A rejected AWS listing edit, including one made with Edit Info, lands here. | Review the last change and read the error details: they’re in the Update Product Failed banner on the product page and, for AWS, under the failed entry in History. Fix or revert the invalid update, then retry. |
Attention Needed | The listing needs manual review or follow-up before it can move forward cleanly. | Open the listing details, review warnings or feedback, identify the blocking issue, and complete the required follow-up. |
Post-action states
| Status | Definition | Next step |
|---|---|---|
Edited | Listing has been modified from its previous version. This is a change-tracking state, not necessarily a publish or error state. | Review what changed, confirm whether the update still needs to be submitted/synced, and monitor for the next state (Pending Update, Update Success, or Update Failed). |
Update Success | The most recent listing update completed successfully. | No immediate action needed. Optionally confirm the expected change is reflected in the marketplace. |
Deleted | The listing was removed or marked as deleted. | Confirm whether deletion was intentional. If not, investigate whether it can be recreated or restored through the appropriate workflow. |
Spotted something wrong or out of date on this page? Tell us and we'll correct it.