User Google Mail
Allow Suger to access your Google mail account to send, receive, and manage emails on your behalf.
Overview
By integrating Suger with Google mail, users can leverage automation workflows to enhance email productivity. Tasks such as sending emails, applying labels for organization, and managing threads can be automated, improving efficiency and enabling customized email workflows tailored to specific needs.
Create User Integration
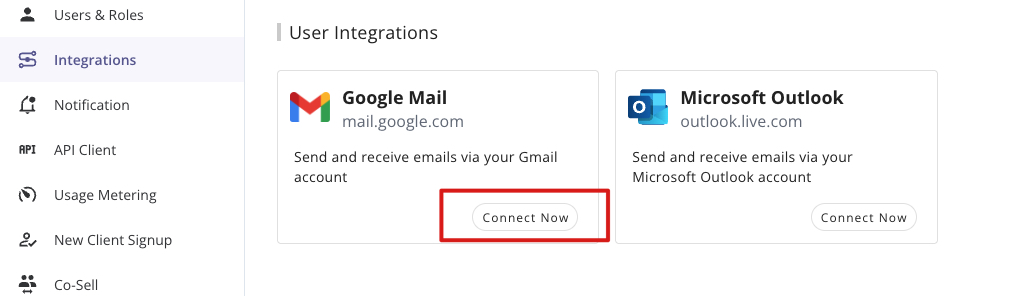
- Click
Connect Nowbutton in the User Integrations section, you will be redirected to the Google OAuth2.0 authentication page.
- Click the
Allowbutton to grant Suger permission to access your Google mail account. This authorization enables Suger to read and send emails on your behalf.

-
After the authorization is granted, you will be redirected to the Suger console. You can see the integration is connected successfully.
-
Verify the integration by clicking the
Verifybutton. If the integration is successful, you will see theVerifiedstatus.
Edit User Integration
For security purpose, editing an existing user Google mail integration is not allowed. The practical way is to delete it and then re-create it from beginning.
Delete User Integration
A user’s Google mail integration can be deleted in the same manner as other user integrations. Once deletion is initiated, all integration data—including credentials and access tokens—will be permanently removed from Suger immediately. This action is irreversible and there is no recovery window.
Deleting the integration in Suger does not automatically revoke permissions granted in Google. To fully disable access, the user must also revoke the application’s permissions in their Google account.
Steps to revoke Google permissions:
- Go to Google Account → Security
- Open Your connections to third-party apps & services
- Locate the Suger application with Google mail access
- Click Remove access